The Bubble Project

Bubble Project Lighthouse

COVID-19 in 2020 has presented all sorts of challenges and changed the way society interacts. No job, can’t go out and play, and hell you can’t even get a hair cut. What’s a person to do? Create bubbles in landscapes where they totally don’t belong, of course!

Step 1: In Photoshop create a brush preset from a bubble PNG or other high-quality image of a bubble. The bubble should be in black and white so convert it if necessary and crank up the blacks a bit to get more definition in your bubble. If there is a drop shadow or any other elements in the photo, remove them as well. Once you have your bubble image the way you want it;

Click on the BRUSH Tool > Go to Edit > Select Define Brush Preset > Name your bubble brush.

Bubble Brush

As you create your bubbles you may want to change their size and rotate them so they all don’t appear the be exactly the same.

Brush Panel

Step 2: Create a background layer or use a picture for your background layer. Here is the image I will be using.
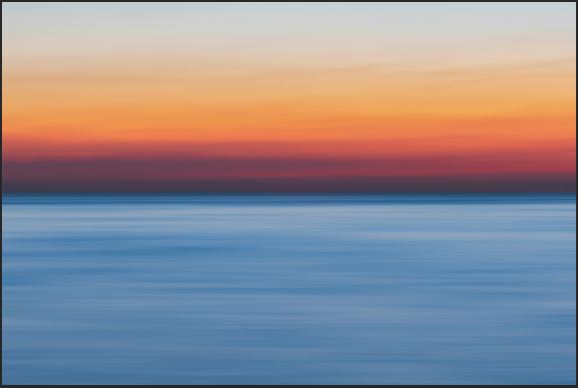
Bubble project background

Step 3: Create a blank layer above the background. Using your Brush Tool and the brush you created, determine your size and click in your image.
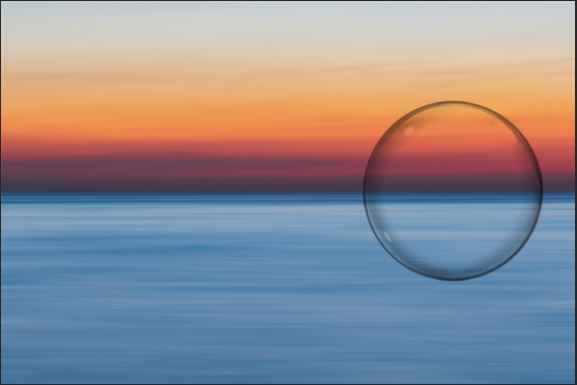
bubble brush stroke

If the bubble is too dark for your liking, lower the opacity on the layer.

Step 4: Bring in the image you are going to use to place in your bubble. You can bring in all the images or one at a time. Drag and drop the image into your workspace. You’ll likely need to Rasterize the layer before you can make any changes to it. Get the portion of the image you are placing in the bubble about the right size to fit inside the bubble.

Step 5: This step adds a very subtle bloat effect to the image. Go to Filter > Liquify > Choose the Bloat Tool. Adjust the brush radius to the size of your bubble (close to it) and click on the portion of the image you are inserting into the bubble. You may adjust the setting or click multiple times to get the look you’re after. Click OK.

Step 6: Make sure your image is active, lower the opacity of your image and place the section over your bubble. Select the Marquee Tool, Feather option around 30px, and while holding Shift, create your selection. It doesn’t have to be perfect, we’ll use a layer mask to clean up the edges.

Next, go to SELECT > Invert > Press Backspace Key > Press Delete Key > SELECT > Deselect

Step 7: Add a layer mask to the image layer and clean up the edges with a black brush, getting rid of any overflow outside the bubble. You can also change the opacity to give it more of a subtle blending effect into the bubble. Change the opacity of the image around to see how it looks. Play with your blending options as well, Hard Light sometimes has a cool effect.
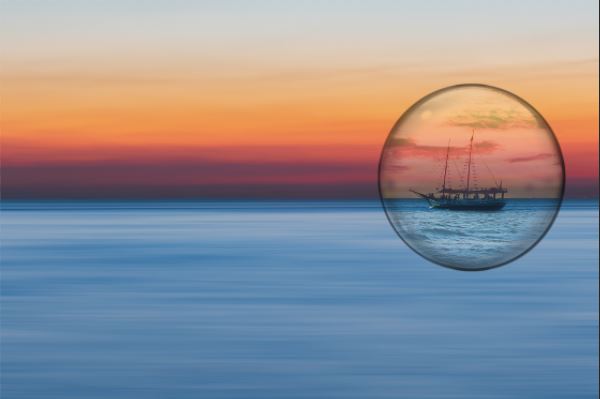
Bubble with Ship

Step 8: Link the bubble layer and your image layer so later if you want to move them around they move together.

Step 9: Repeat Steps 4-8 to complete your bubble composite.
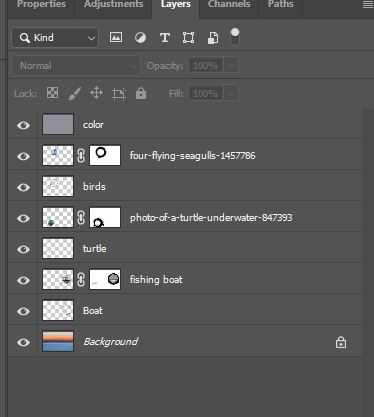
bubble project layers

Step 10: Add some color correction to help bring it together by adding a color-averaged layer from the background, drag the layer to the top, adjust the opacity.

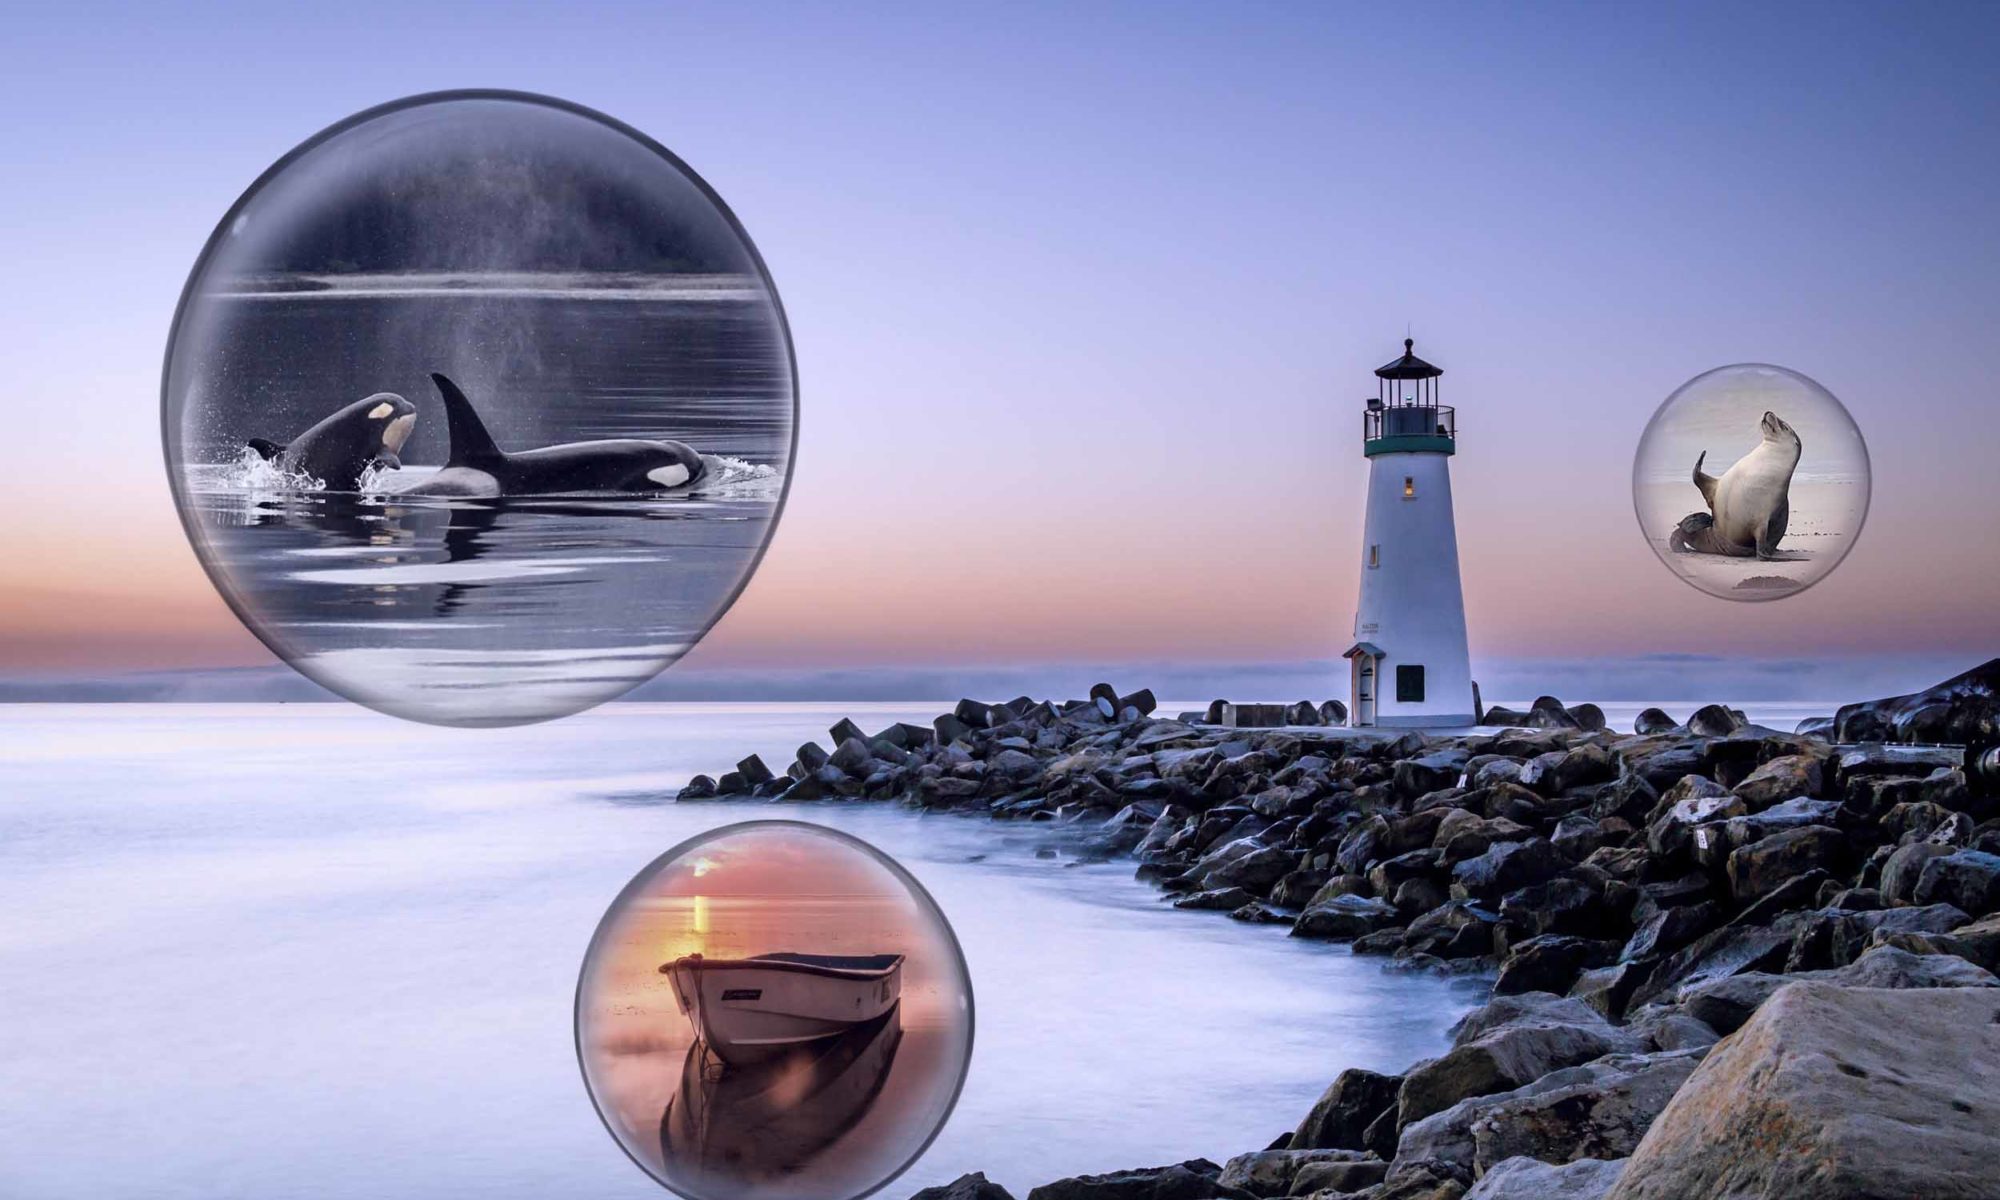
final bubbles project

Tips for Fixing Exposure Problems

fixing exposure in photoshop elements 11

The first tip for fixing exposure problems works really well when the background is exposed and the subject in the foreground needs to be more exposed. For example when the camera exposure is from the light coming through the window rather than the main subject. Here is a quick video on fixing exposure problems which require evening out the exposure of the background and the foreground. There is a gray tint added to the photo and the clarity does seem to be reduced; however, there is a place for using this quick fix on exposure.

1. Using OVERLAY adjustment layer

[YouTube_WD id=4 item=3]
Continue reading “Tips for Fixing Exposure Problems”

Correcting a Color Cast in Photoshop Elements 11

correct color cast in photoshop elements 11

White balance can get tricky especially when taking pictures indoors where you don’t have any control over the lighting. It’s not unusual to have multiple types of light indoors, and it can create difficulty for the camera to choose the right white balance.

There are numerous methods to adjust white balance and do some color correction. I will be using the below example of a child singing at a school recital. It’s always fun to watch your children standing up in front of all the parents, practically oblivious that we’re watching. What sucks is when you get home, and all your semi-focused, grainy pictures also have a yellow color cast.

Here is a down and dirty method that I use in Photoshop Elements 11 to quickly reduce the color cast and make the image look much better.
Continue reading “Correcting a Color Cast in Photoshop Elements 11”

Clamshell Lighting Setup

clamshell lighting setup

The Clamshell Photography Light Setup

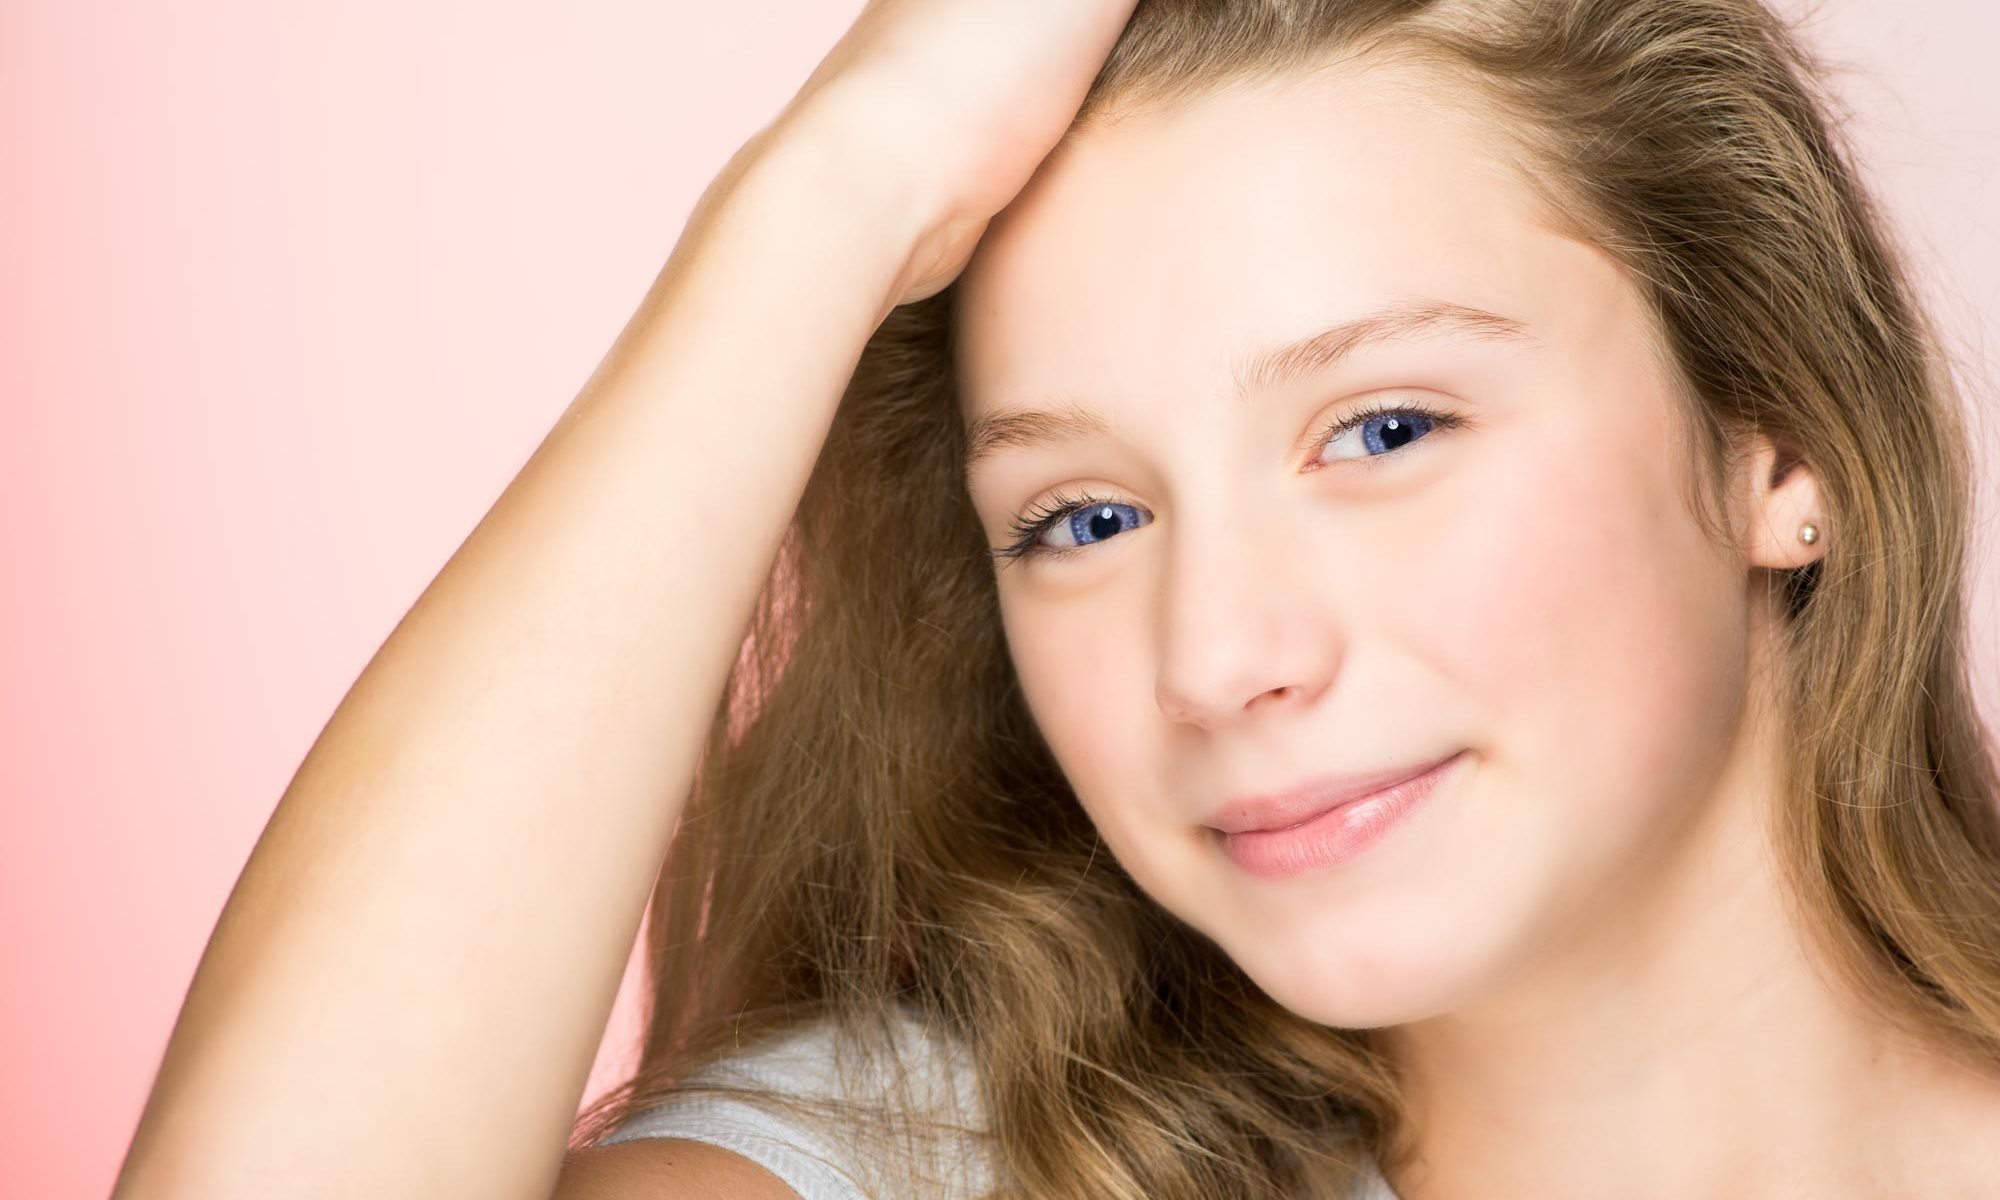
Not every lighting set-up has to be complicated. For simple headshots, I found that the clamshell light setup works well.

Why is it referred to as the clamshell setup? Well because when viewed from the side it resembles an open clamshell. One light is pointing down on the subject, your main light, and the other light pointing up from the bottom typically acting as a fill light. If you don’t have the second light, you can attach a reflector to a stand or have your model hold one. You can also use different modifies in your setup. In this case, I used two medium softboxes.
Continue reading “Clamshell Lighting Setup”

Photographing Boiling Water

photographing boiling water

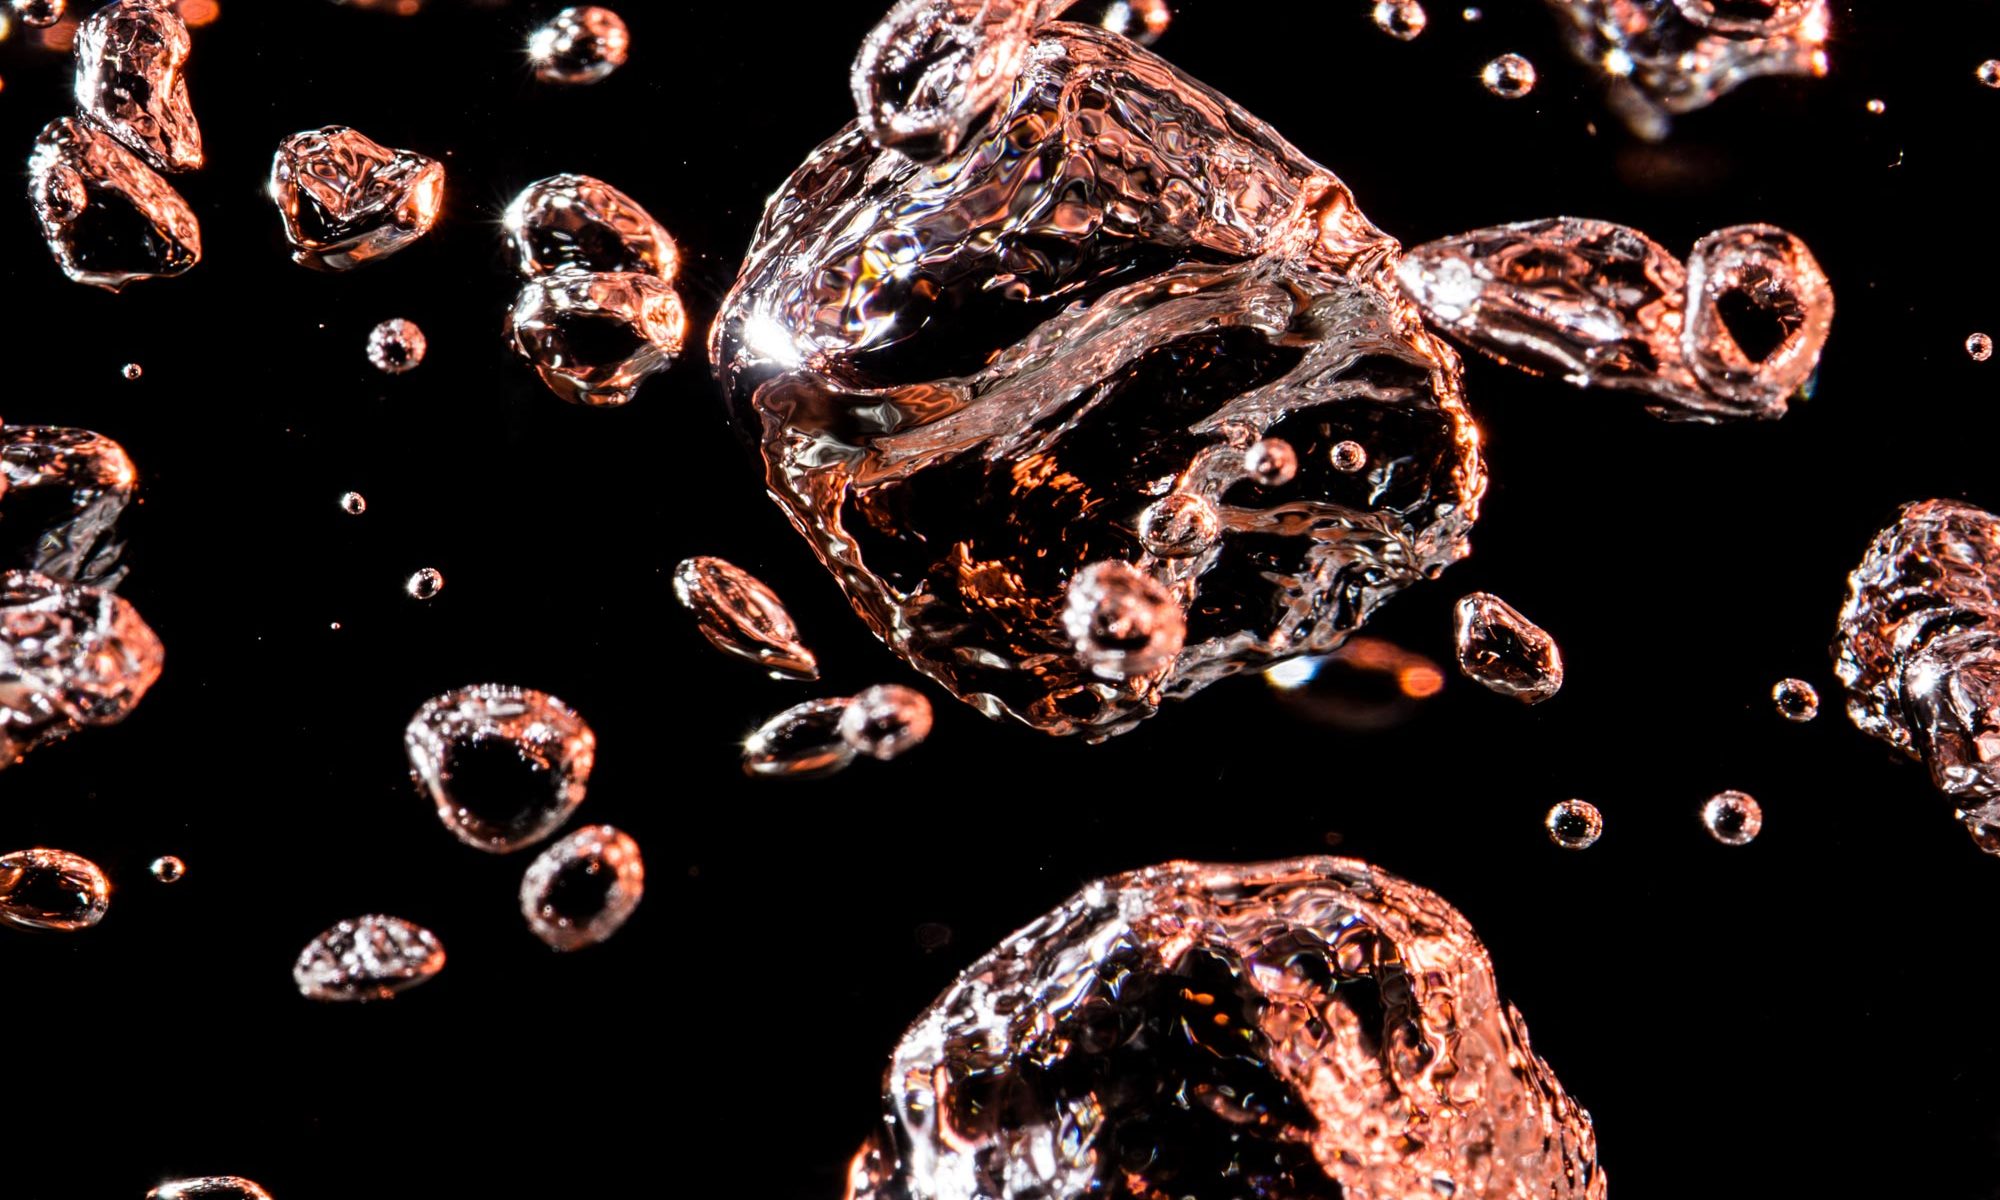
This turned into a fun project and the results were pretty interesting. The images of boiling water looked more like something from outer space. The trickiest part of photographing boiling water is getting a good focus, but once I got it figured out all that was left to do was click away.

Set-up for photographing boiling water

There isn’t a lot of equipment required for photographing boiling water. I used a Nikon D7100 with a Tokina 100mm lens attached to my tripod. I placed a Glass Electric Kettle on a sturdy table, filled with regular tap water. I set my camera up about 18″ away because I figured that would give me enough depth of field for a sharper image. CLICK LINK FOR DEPTH OF FIELD CALCULATOR
Continue reading “Photographing Boiling Water”

Photographing a Light Bulb

photographing a light bulb

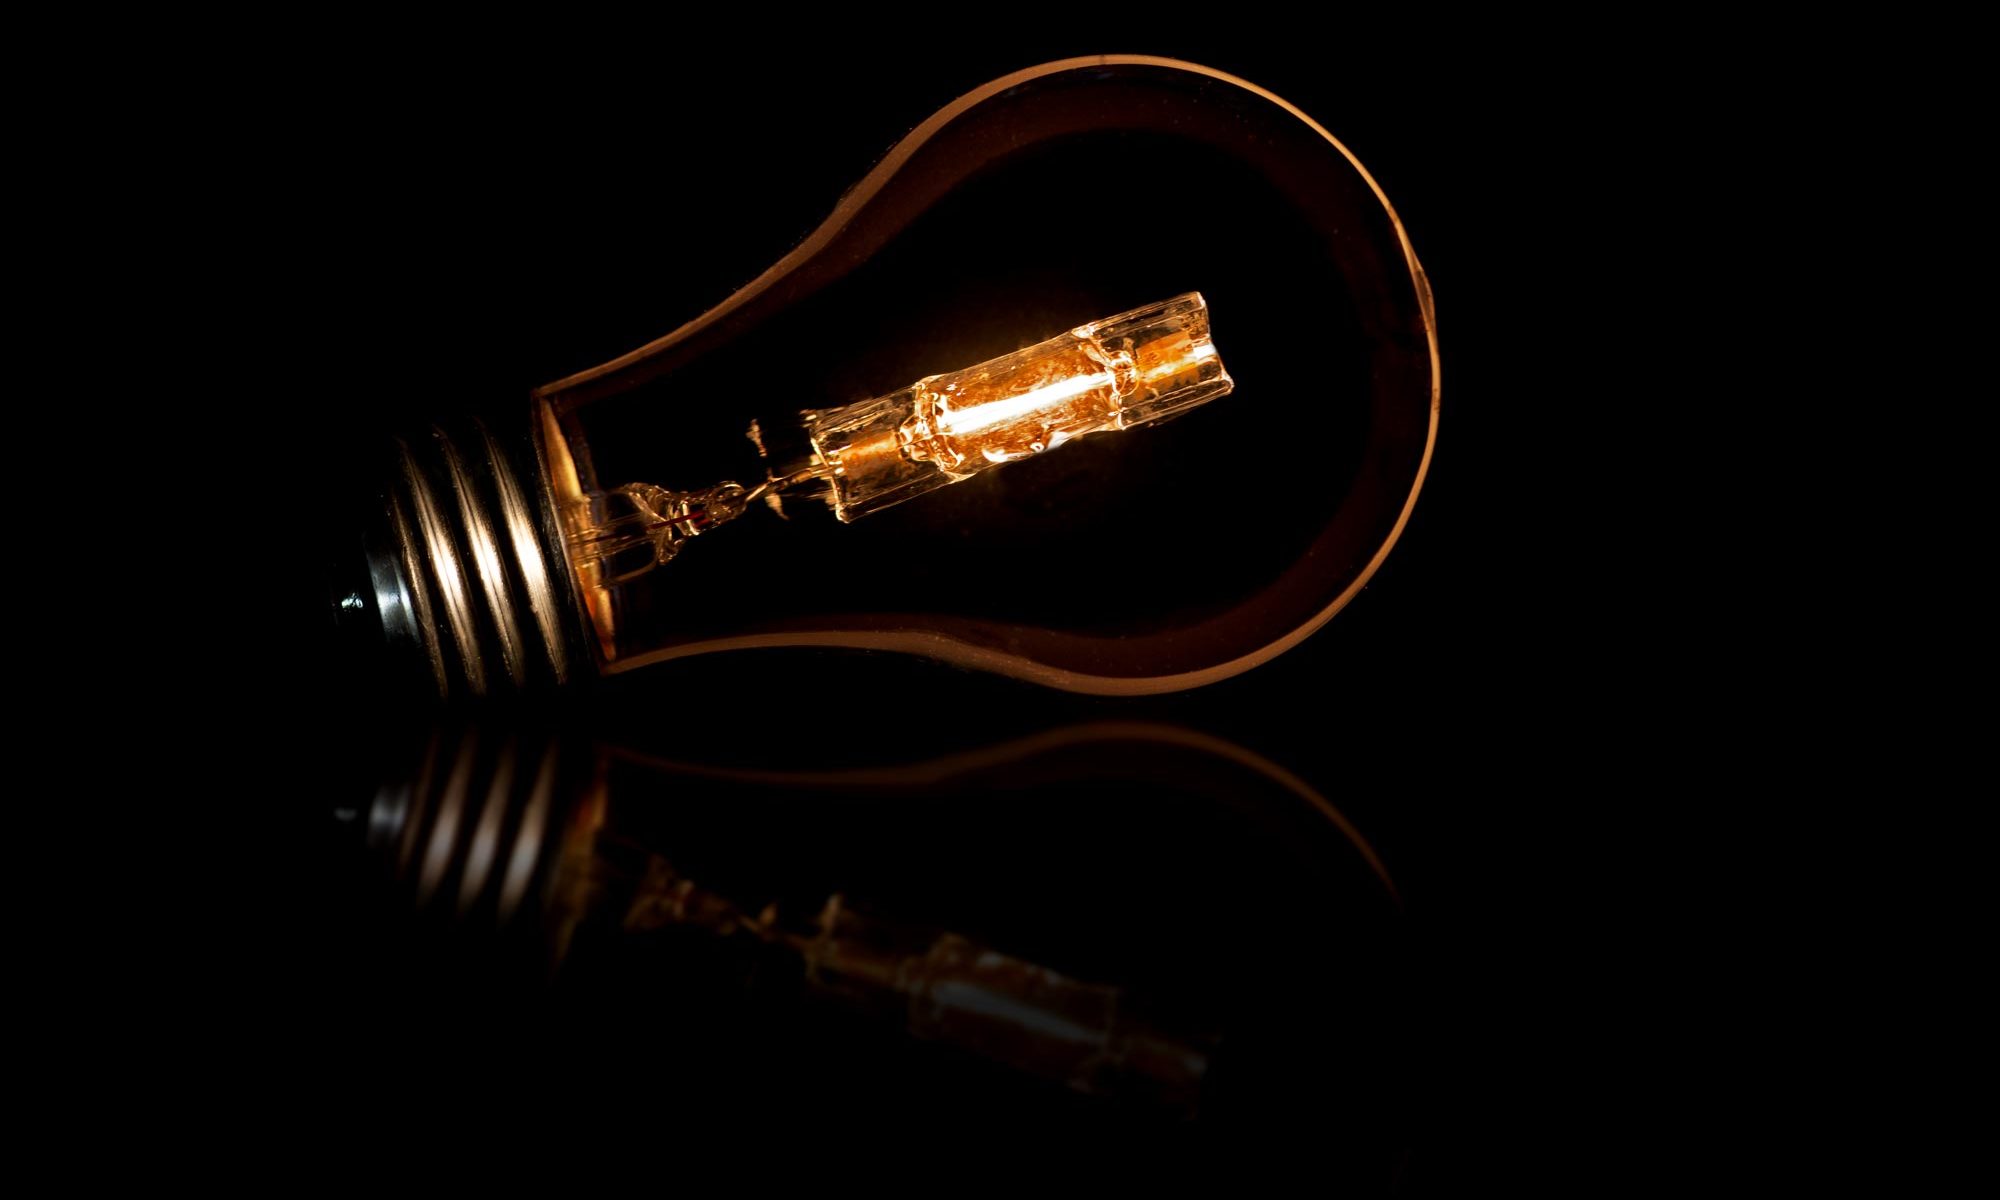
During the winter I like to find projects that can be done without a lot of space and equipment. One of my favorite sources of inspiration is Gavin Hoey. In my opinion, his videos are fun to watch and easy to understand. For today’s project, I am going to photograph a light bulb. Photographing clear shiny objects can be tricky unless you plan on using a lot of Photoshop or Photoshop Elements to clean it up and get rid of unwanted reflections.

To get the ball rolling, check out this to the point video on photographing a light bulb – Lightbulb Without Wires: Ep 124

[YouTube_WD id=2 item=2]

Continue reading “Photographing a Light Bulb”

Printing Contact Sheets in Photoshop Elements 11

Coffee photograph contact sheet

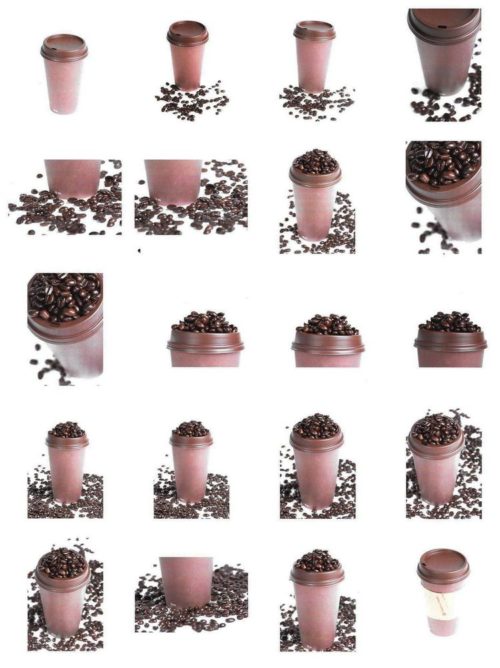
Even though I don’t utilize contact sheets in my photography, I’ve always thought they were pretty cool when I would come across them while reading photography books. It wasn’t until I looked into printing them that I discovered how easy it was to put together a contact sheet filled with photographs and print in Photoshop Elements 11. Continue reading “Printing Contact Sheets in Photoshop Elements 11”

Water Drop Photography How To

water drop photography how to

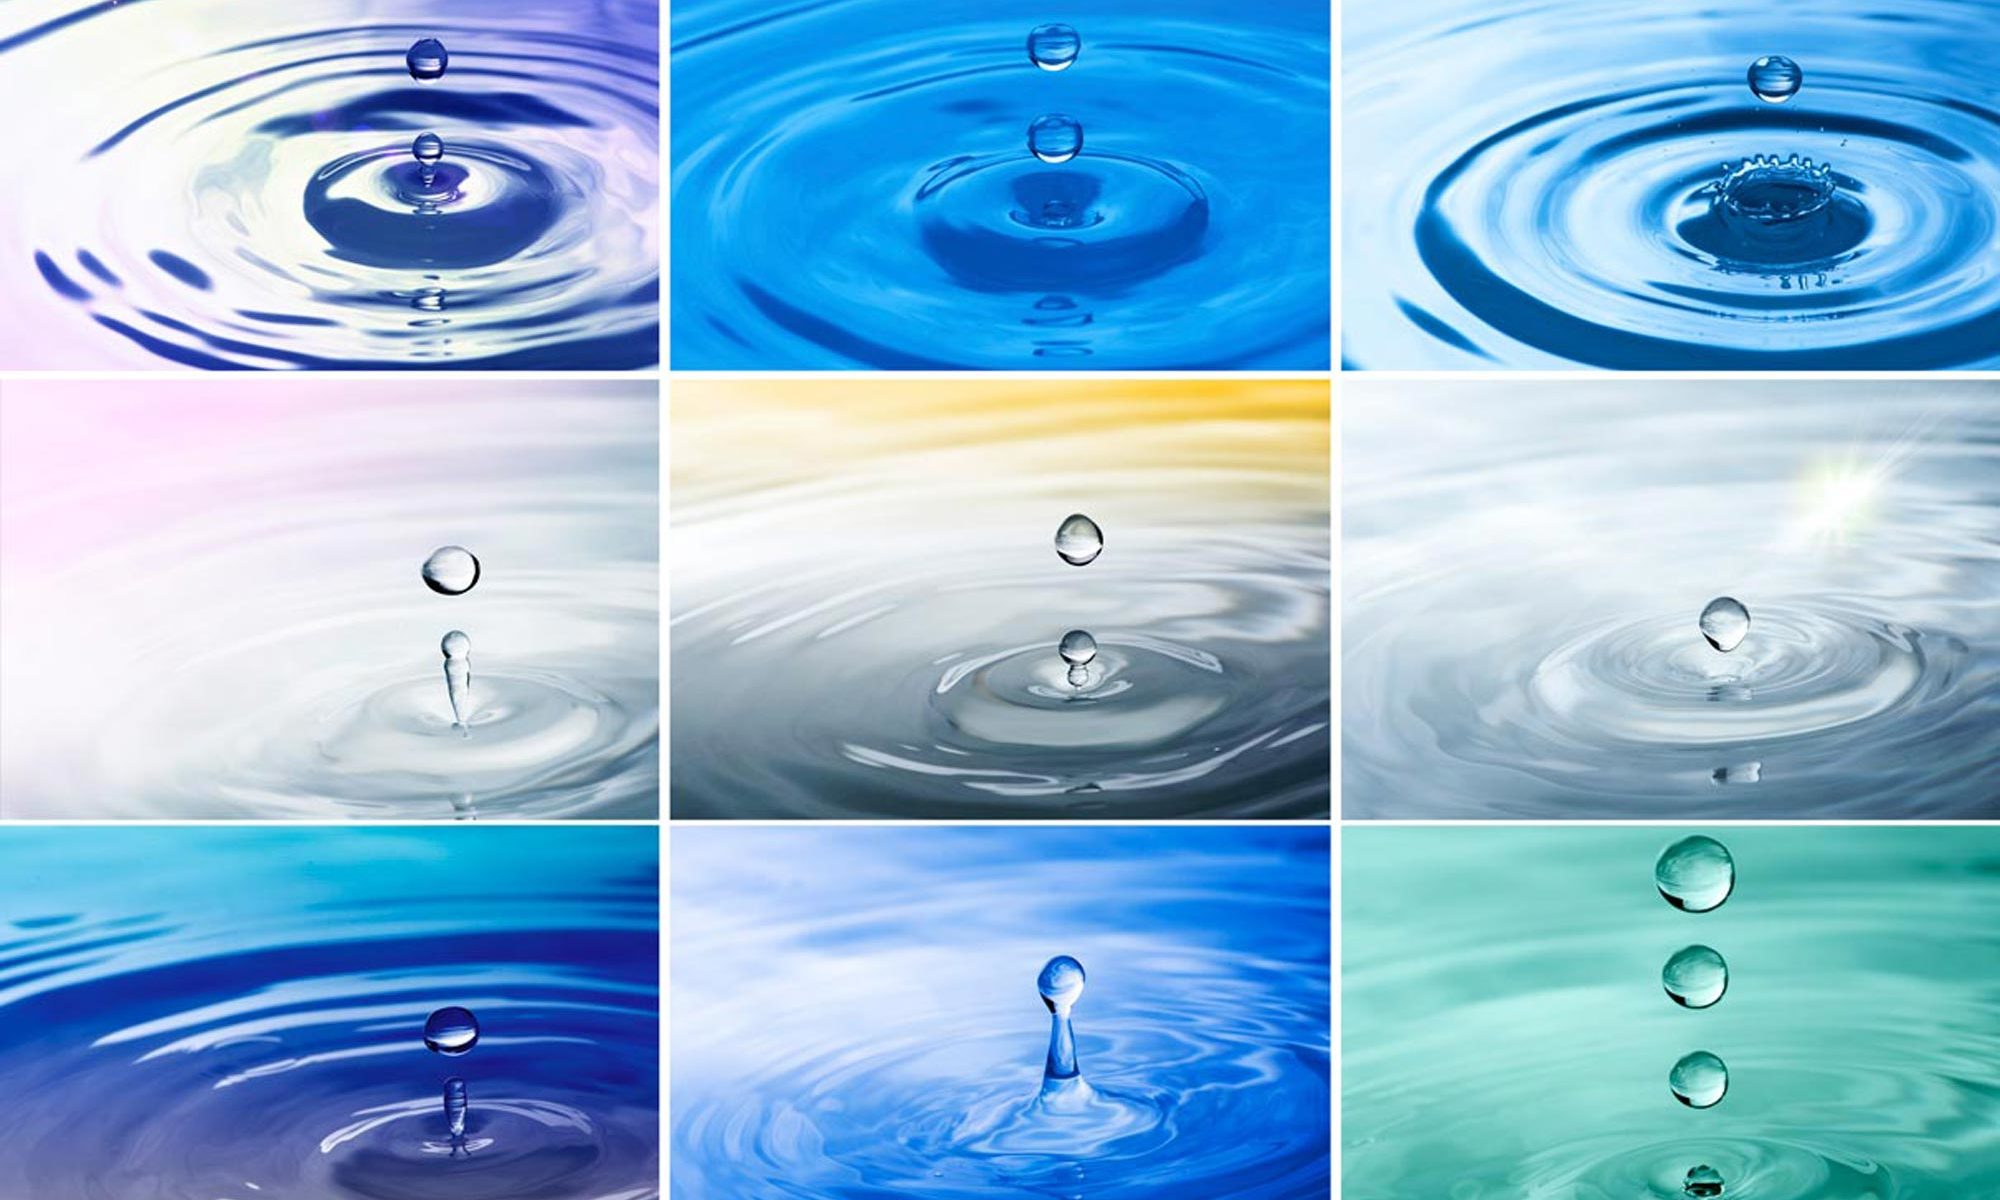
You’ve heard the saying, “There’s more than one way to skin a cat.” And that holds true when doing water drop photography. I’ve seen and tested many different setups but I never was really able to capture the picture I wanted of a drop of water falling into still water creating a cool splash and ripple effect. I’ve seen some people create really good pictures simply using their sink faucet while there are those that have created or purchased impressive devises that can make amazing water droplets in all sorts of ways. However, this is not one of those tutorials.

After some trial and error and what I believe to be success I thought I too would add my thoughts to the Internet on how to do water drop photograph.

How to do Water Drop Photography

Continue reading “Water Drop Photography How To”