White balance can get tricky especially when taking pictures indoors where you don’t have any control over the lighting. It’s not unusual to have multiple types of light indoors, and it can create difficulty for the camera to choose the right white balance.
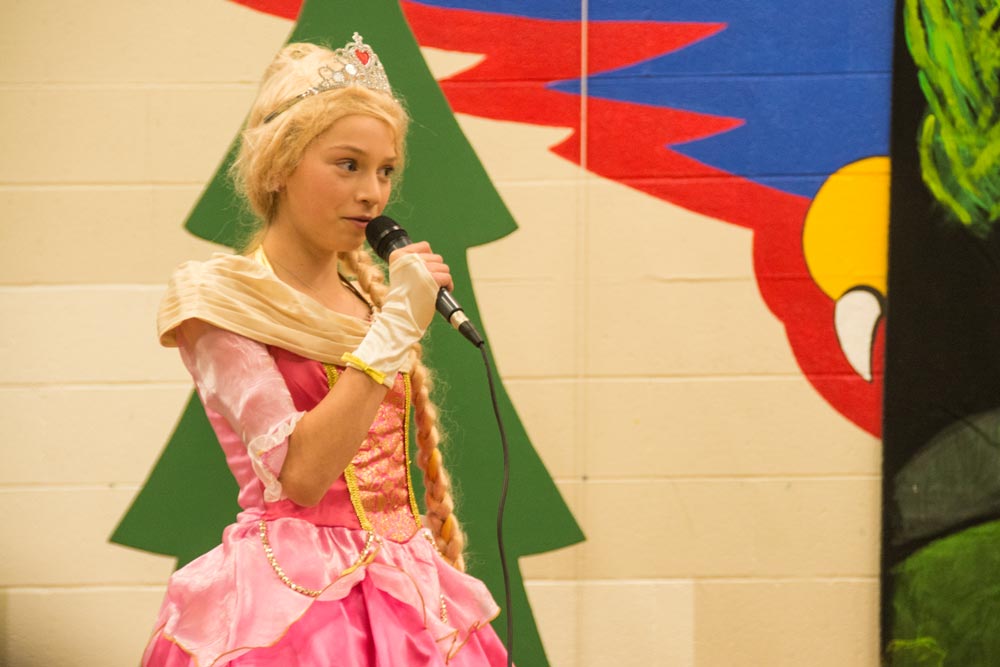
There are numerous methods to adjust white balance and do some color correction. I will be using the below example of a child singing at a school recital. It’s always fun to watch your children standing up in front of all the parents, practically oblivious that we’re watching. What sucks is when you get home, and all your semi-focused, grainy pictures also have a yellow color cast.
Here is a down and dirty method that I use in Photoshop Elements 11 to quickly reduce the color cast and make the image look much better.
Steps for Correcting a Color Cast in Photoshop Elements 11
- Open the image in the Editer
- Create a NEW blank layer
- Select the Color Picker
- Click on your image (I select the area that appears to have the color cast)
- Hold the ALT and Delete keys at the same time to fill you new blank layer
- Invert the layer FILTER > ADJUSTMENTS > INVERT or Ctrl I
- Adjust the opacity of the layer until the color cast is neutralized (usually down to 5-15 percent).
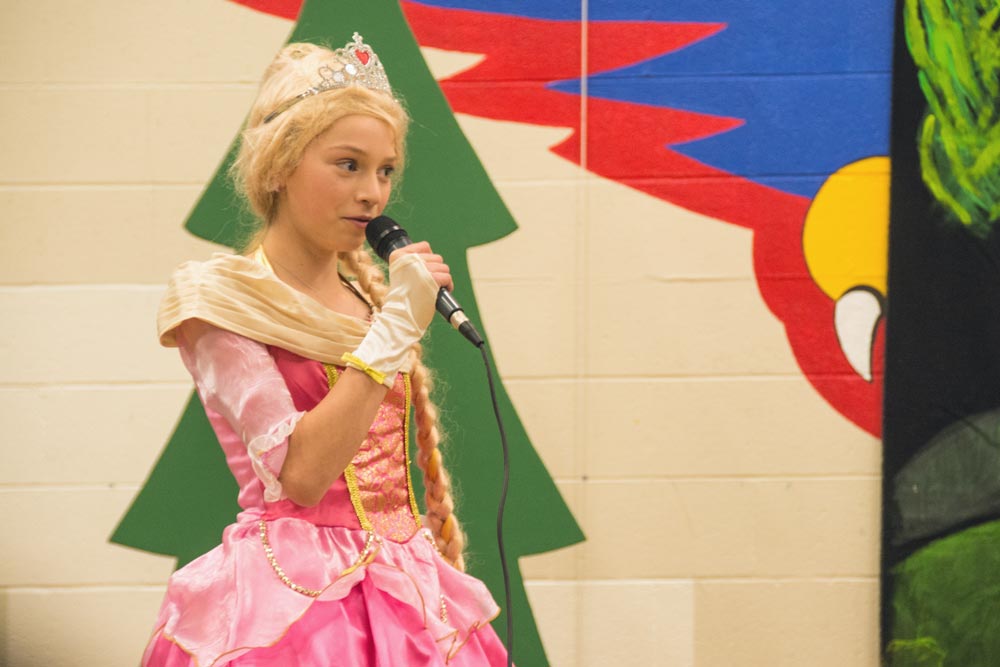
What this process does is fill the blank layer with the color from your color picker. Once you invert the color, it changes the color to its opposite and as the opacity is lowered it decreases the effects of the color cast you are trying to correct. This may not be the best method, but it does a pretty good job when you don’t need to make a ‘picture perfect’ picture.