During the winter I like to find projects that can be done without a lot of space and equipment. One of my favorite sources of inspiration is Gavin Hoey. In my opinion, his videos are fun to watch and easy to understand. For today’s project, I am going to photograph a light bulb. Photographing clear shiny objects can be tricky unless you plan on using a lot of Photoshop or Photoshop Elements to clean it up and get rid of unwanted reflections.
To get the ball rolling, check out this to the point video on photographing a light bulb – Lightbulb Without Wires: Ep 124
[YouTube_WD id=2 item=2]
As you can see he takes much of the trial and error out while answering questions. From this short video, you can see the basic set-up and the effect a few pieces of paper can have and the results to expect. Sure there is still some trial and error but by moving things around you can modify the results to suit your taste.
I used the basic tools mentioned in the video:
Supplies used for photographing a light bulb
- Four sheets of black paper
- Two sheets of white paper
- Clear tape (any tape should work) to tape two pieces of paper together, end to end
- Dimmer switch (I used one I found on Amazon Vintage Industrial Table Pipe Lamp E26 Edsion Base with Dimmable Switch
)
- Clear light bulb
- Black background
- Something to hold the paper in place
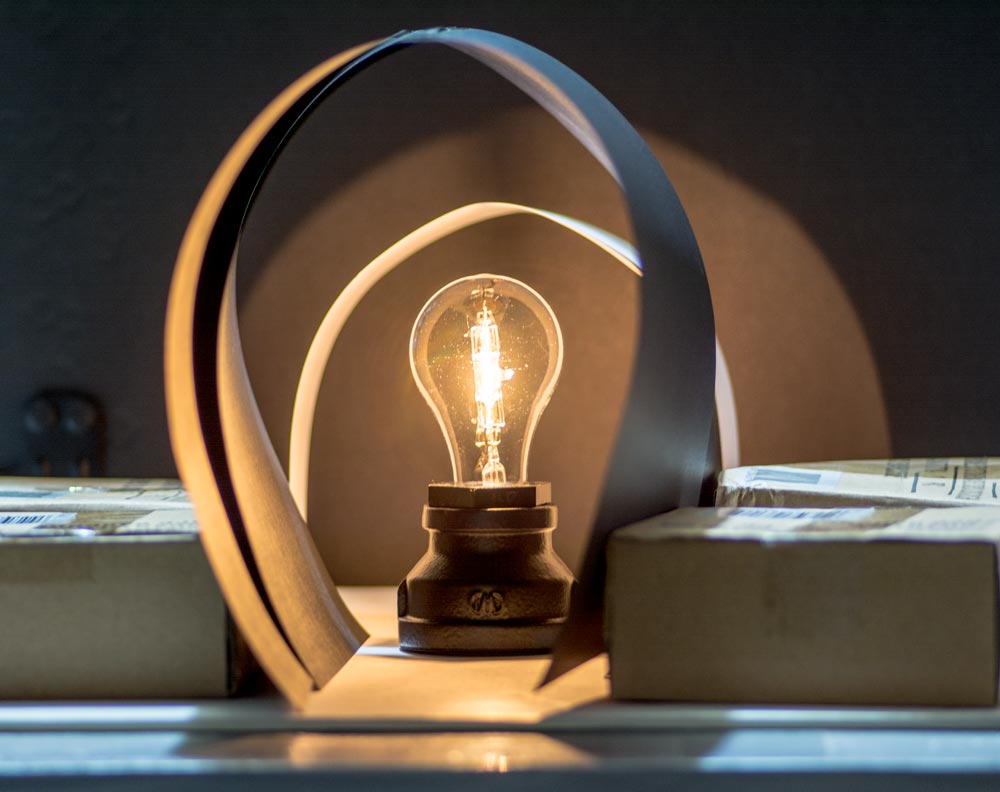
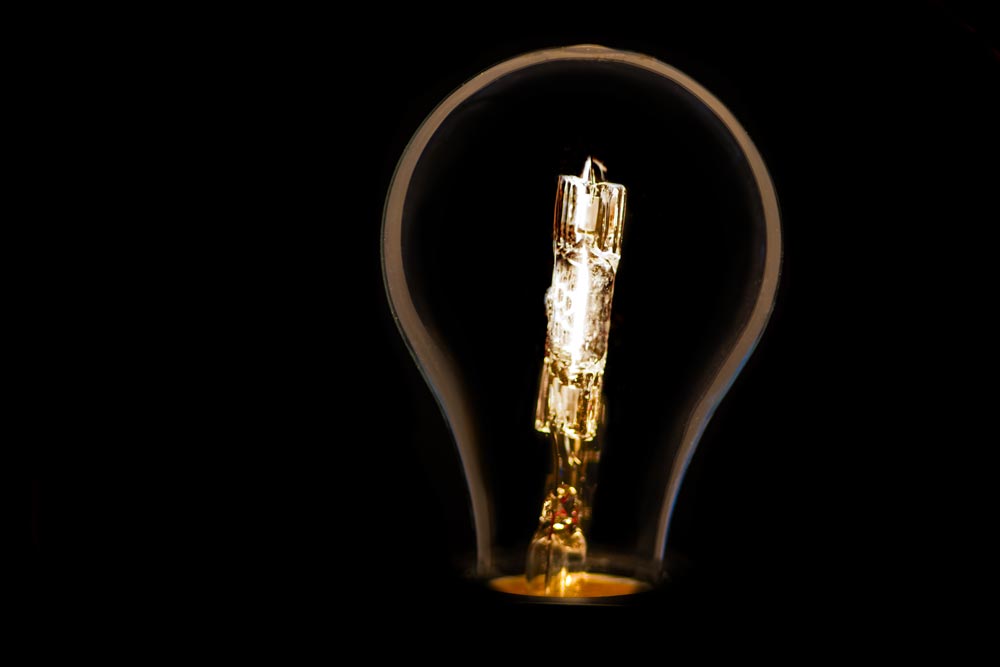
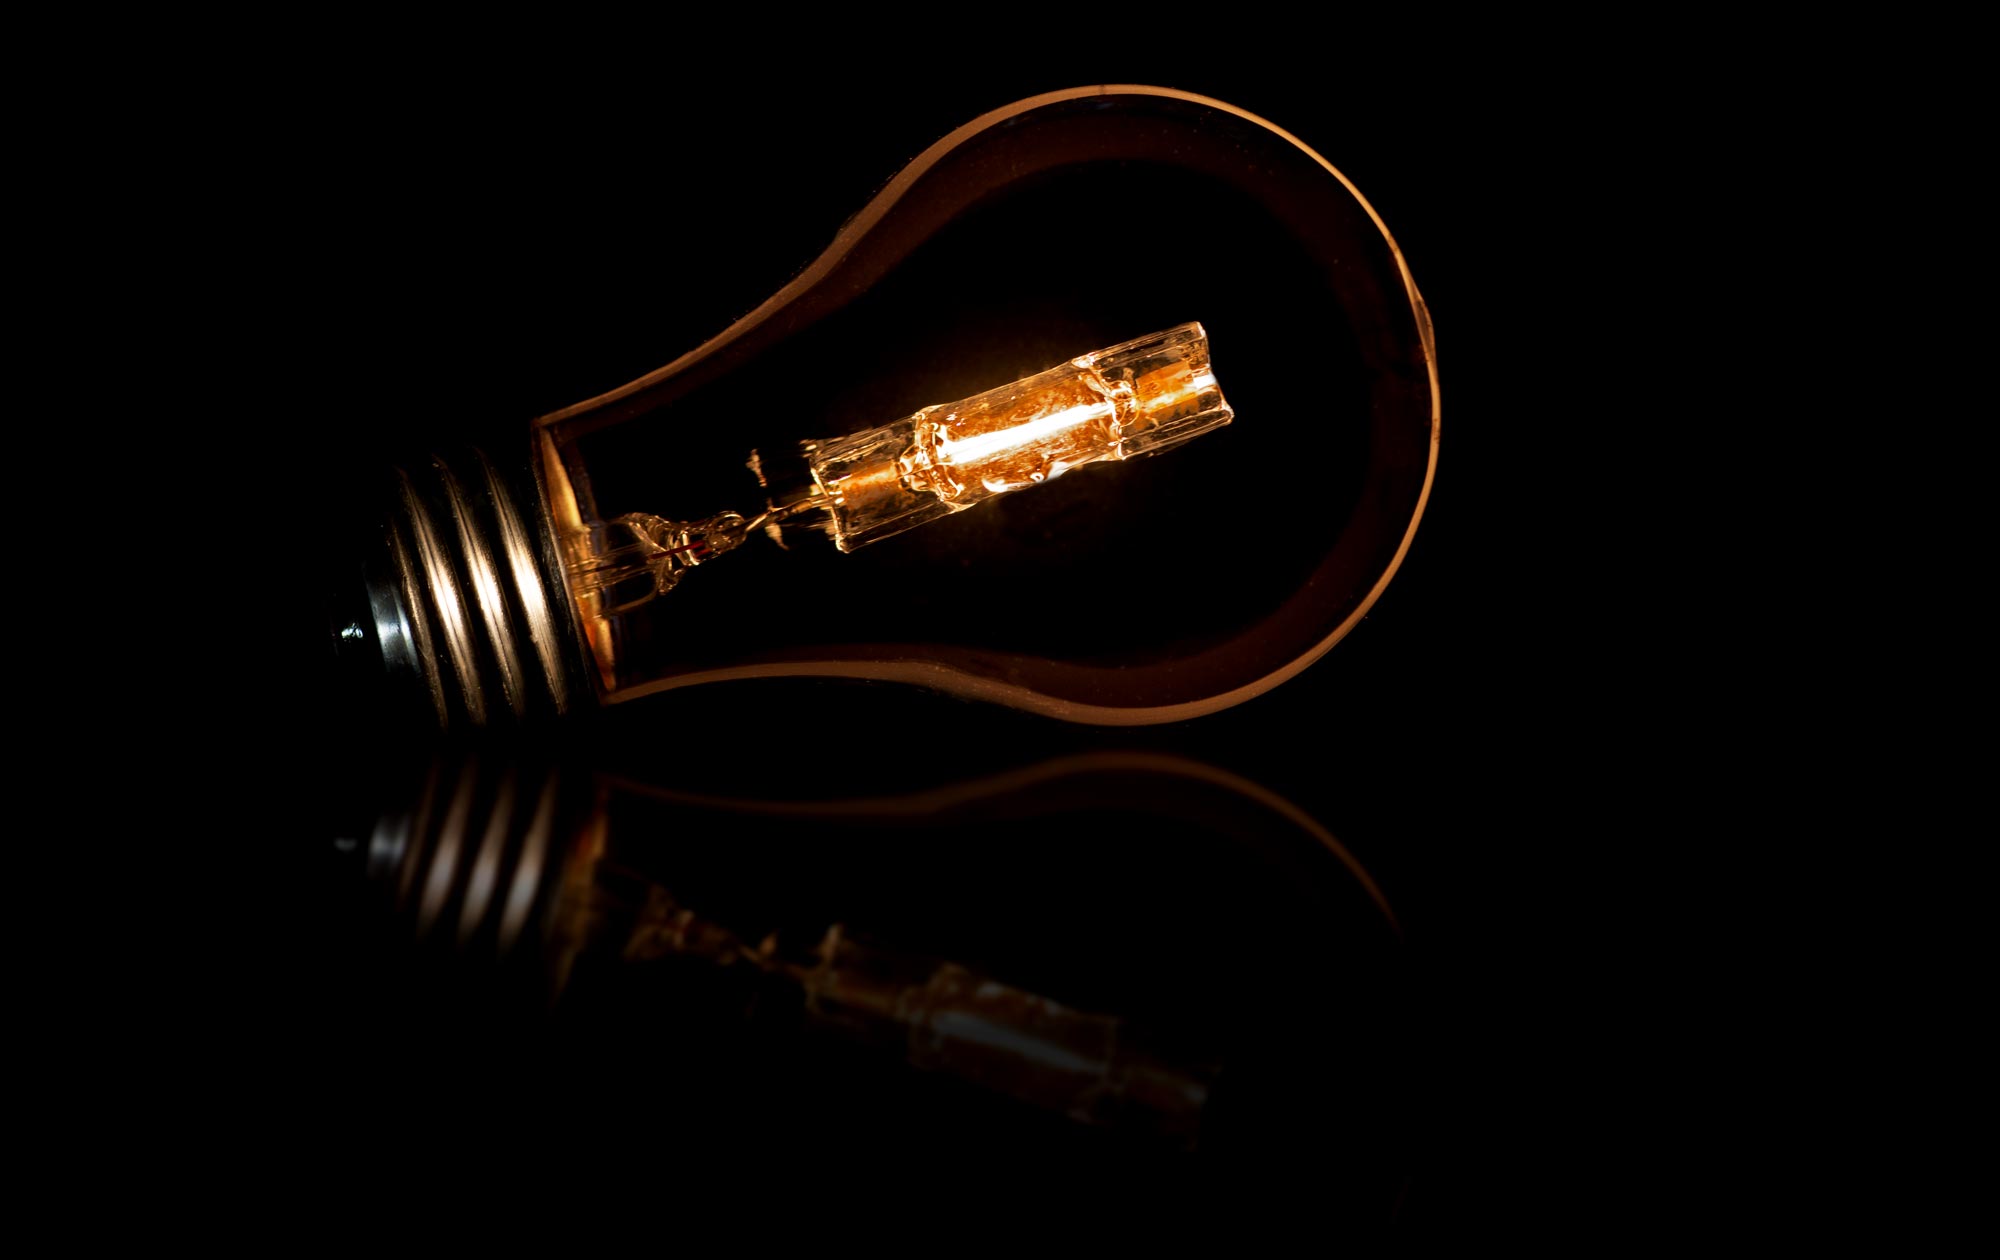
In this setup, I folded over the taped pieces of paper to create a tunnel. Move the light bulb front or back depending on how much rim light you wish to achieve. When I took the final shot, I moved the background back a bit because the light was hitting it and I wanted the background to be as black as I could get it. Using a sturdy tripod I used my Nikon D7100 with a 100mm Tokina lens. I focused on the center of the light bulb and used ‘P’ priority mode with ISO 100 to get the exposure.
**Note: be sure to leave space at the bottom of the light bulb to add the base.
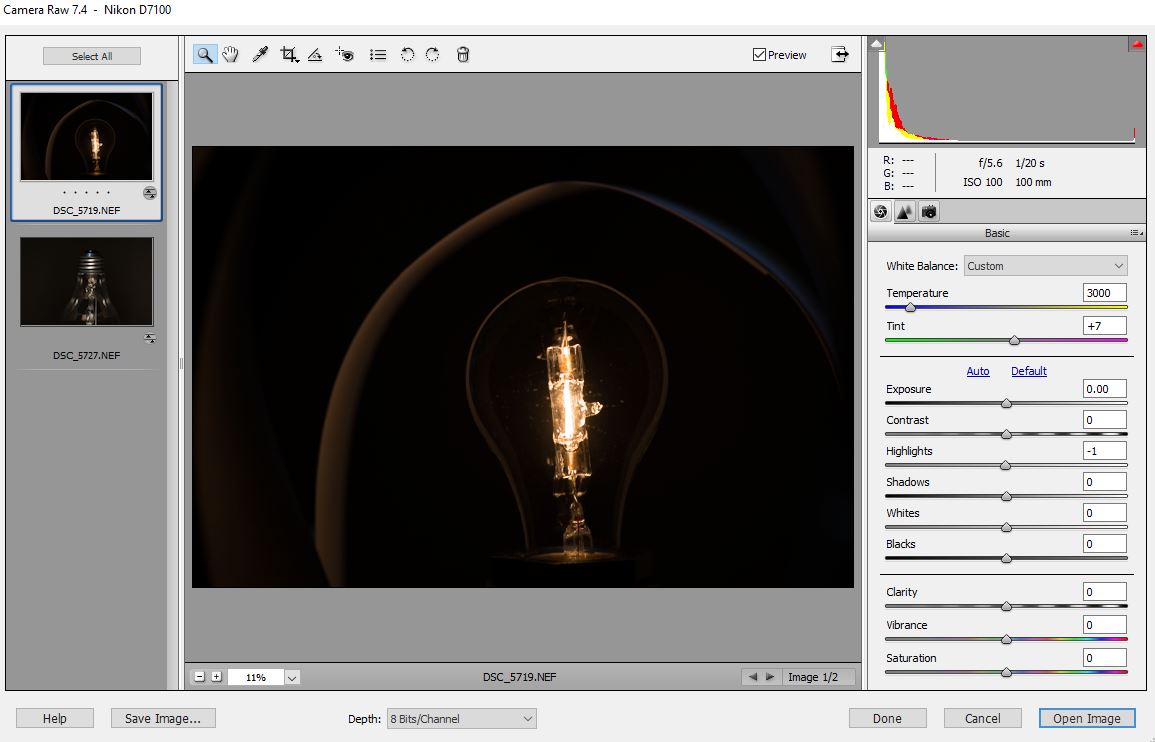
After photographing the light bulb, I opened the image in Camera Raw. Since I am using Photoshop Elements 11, I didn’t make any modifications except for cooling the image down a bit.
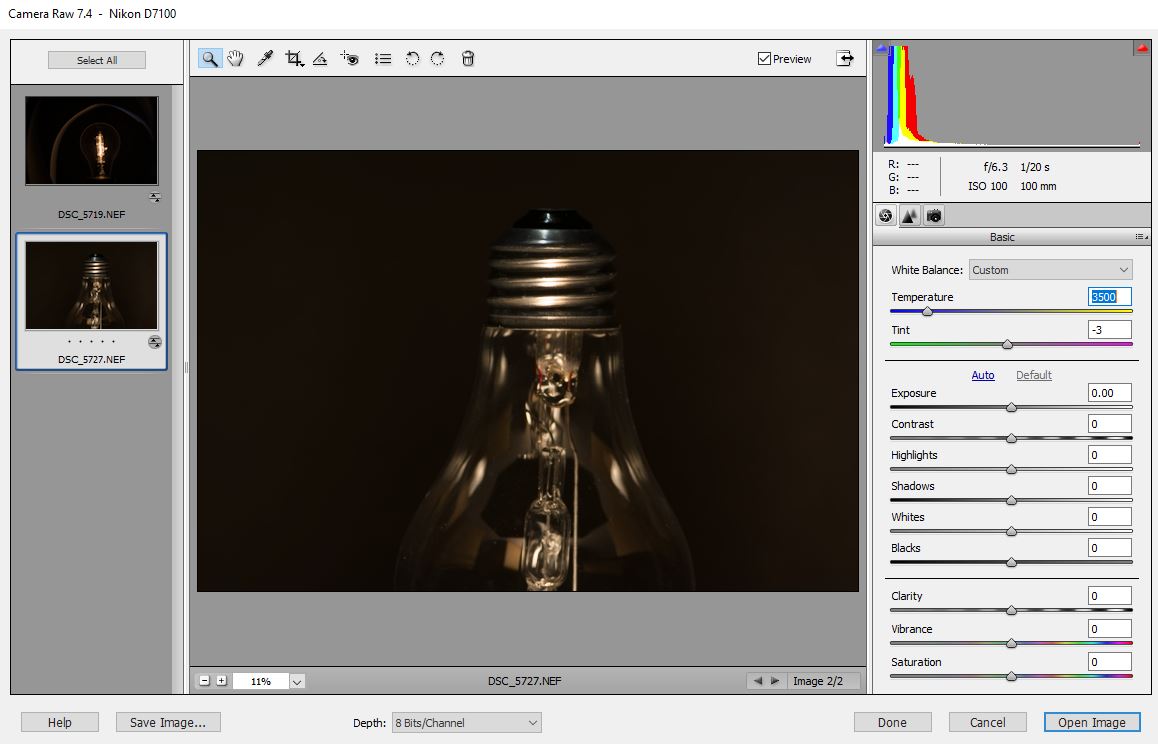
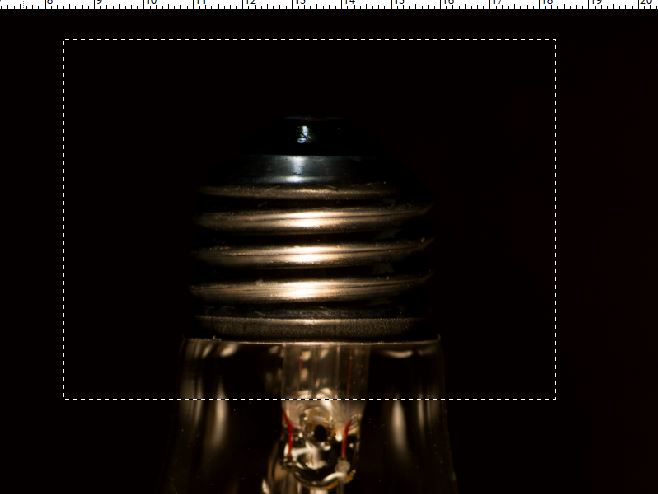
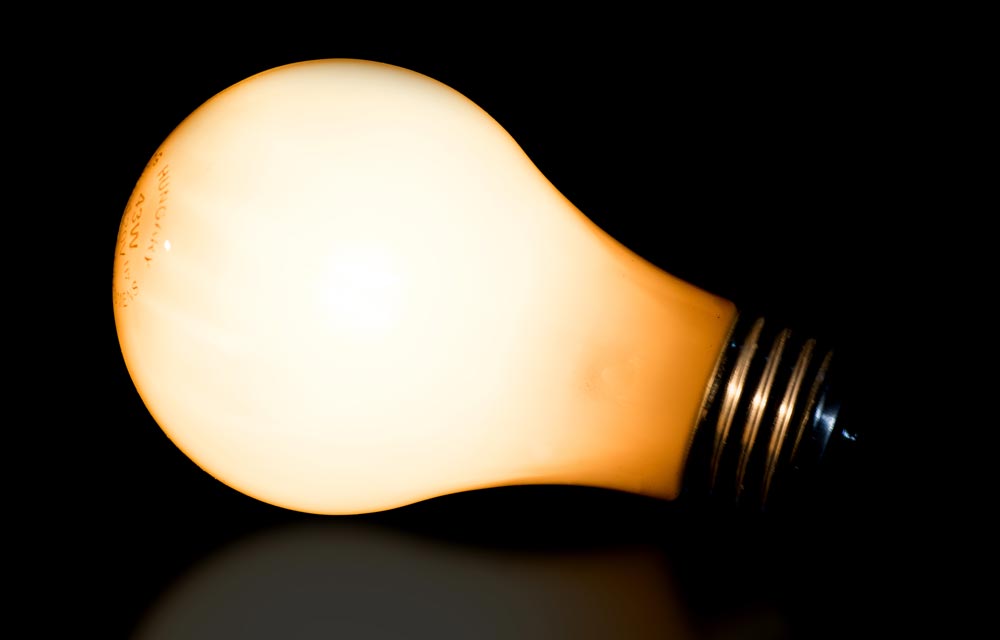
Don’t forget to add the base of the bulb. Flip the bulb over and photograph using similar lighting.
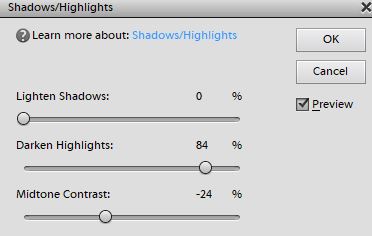
I opened my light bulb photo in Photoshop Elements 11 and used a black paintbrush to clean up the background paper. I then created a DUPLICATE LAYER I then selected ENHANCE > ADJUST LIGHTING > SHADOWS/HIGHLIGHTS to adjust the darkness. Adjust the sliders until you have your desired effect. Create a LAYER MASK and reduce the brightness of the edge of the bulb if you so desire.
I then created a LEVELS ADJUSTMENT LAYER and grouped it with the previous layer.
- Adjust the black slider to darken the blacks
- Adjust the midtone slider
FLATTEN the layers.
Use the SPOT HEALING BRUSH and the CLONE STAMP to clean up the light bulb an get rid of unwanted reflections.
Go to the photo of the base of the bulb and use the RECTANGULAR MARQUEE TOOL to make the selection. EDIT > COPY to copy the selection, navigate back to the main image and EDIT > PASTE it into your light bulb photo. Lower the opacity so you can see what you are doing and line it up to the bottom of the light bulb by using the free transform, IMAGE > TRANSFORM > FREE TRANSFORM. Add a LAYER MASK and bring the base in with the original image of the light bulb.
FLATTEN the layers.
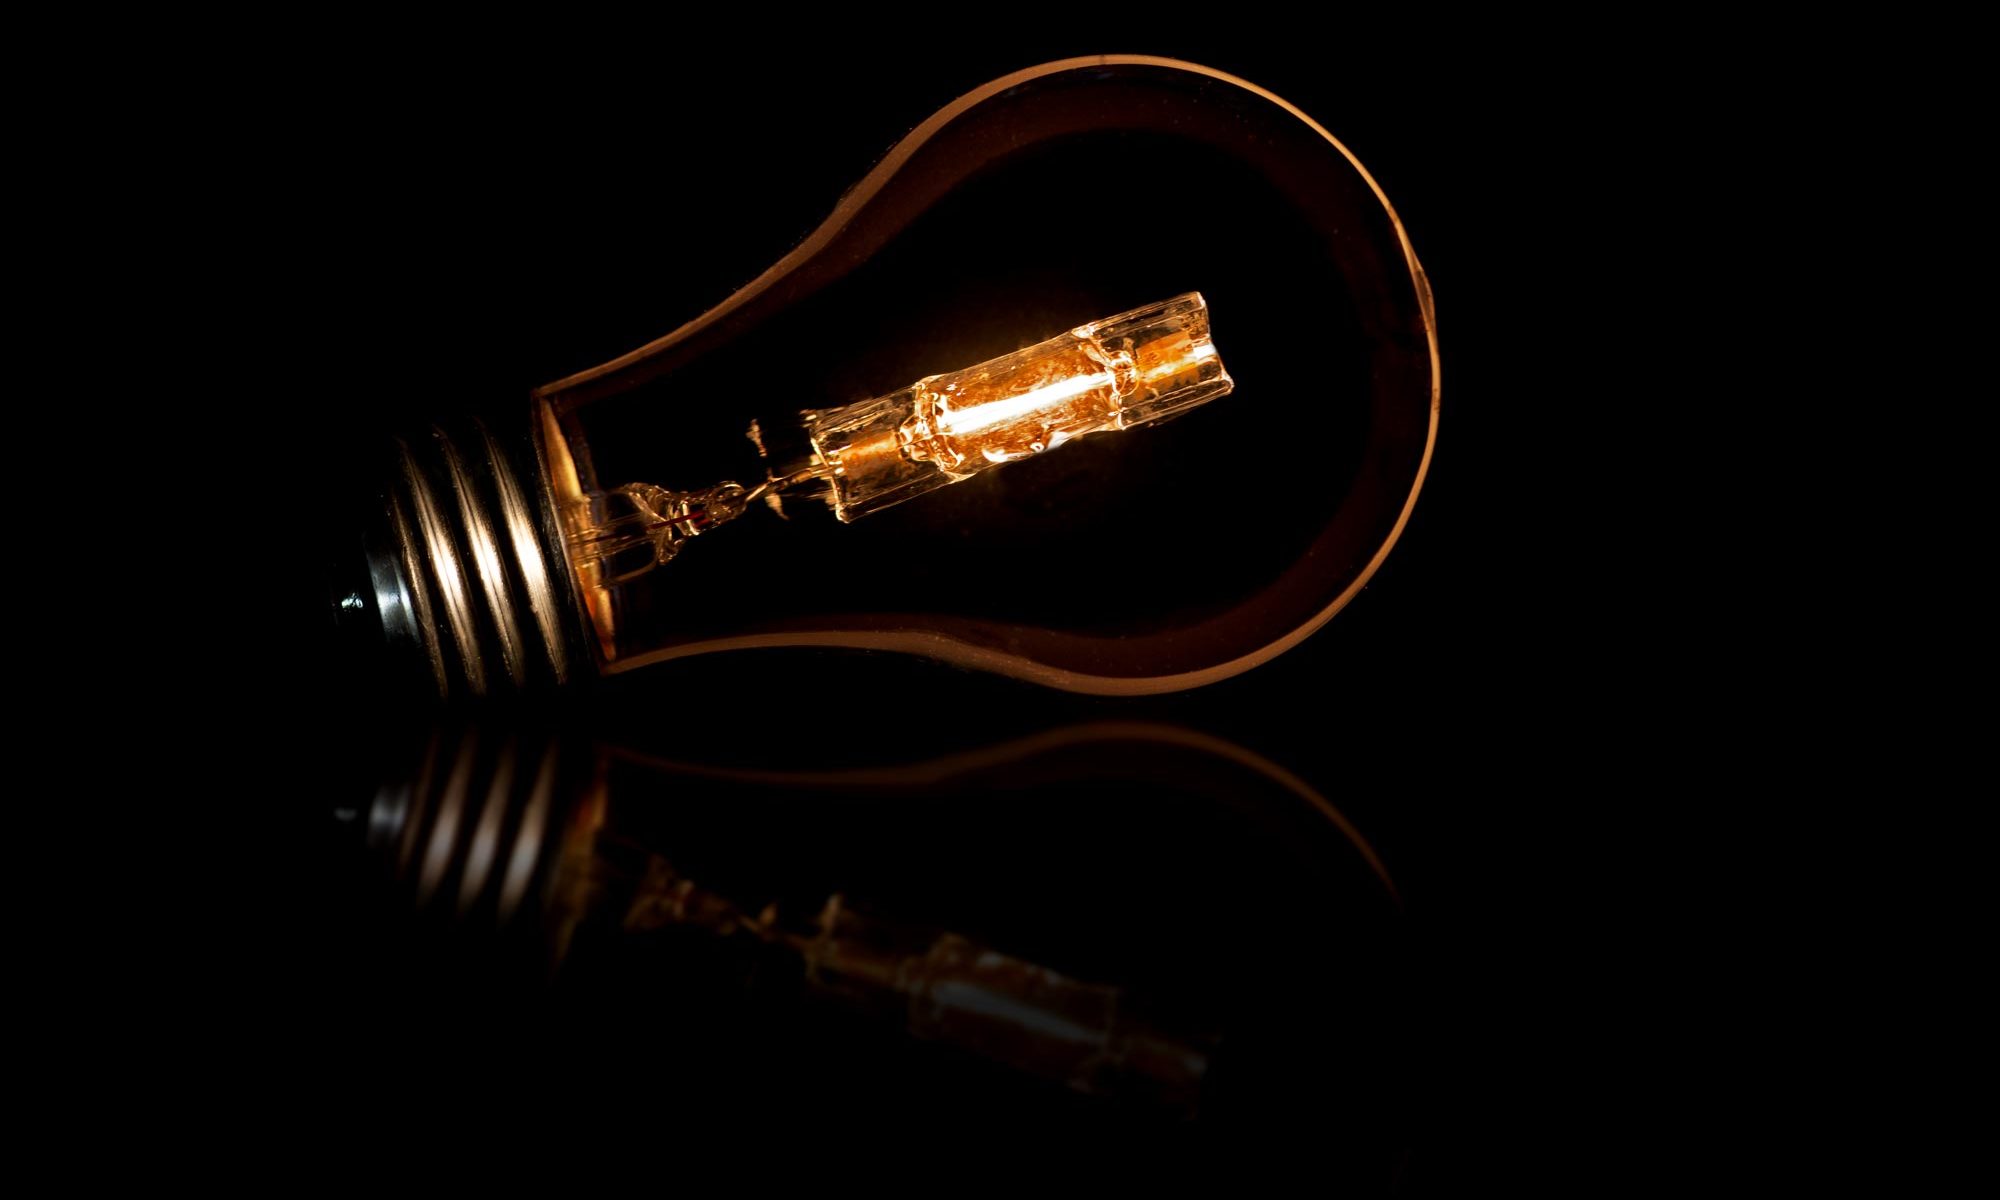
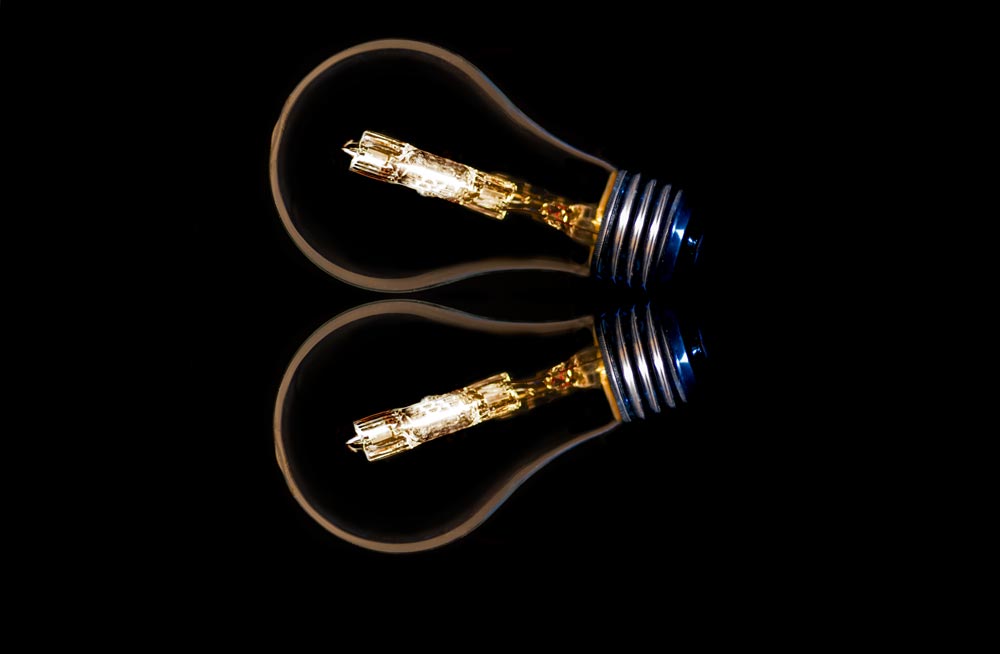
Photographing a light bulb – creating the reflection.
DUPLICATE the layer.
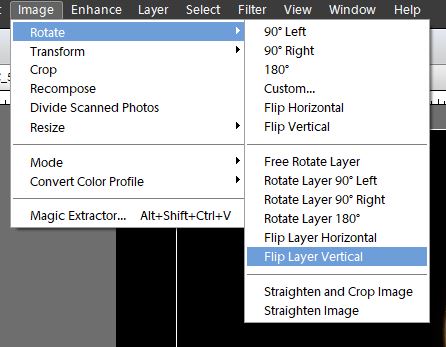
ROTATE the layer.
Use the STRAIGHTEN TOOL to get the light bulb vertical with the base.
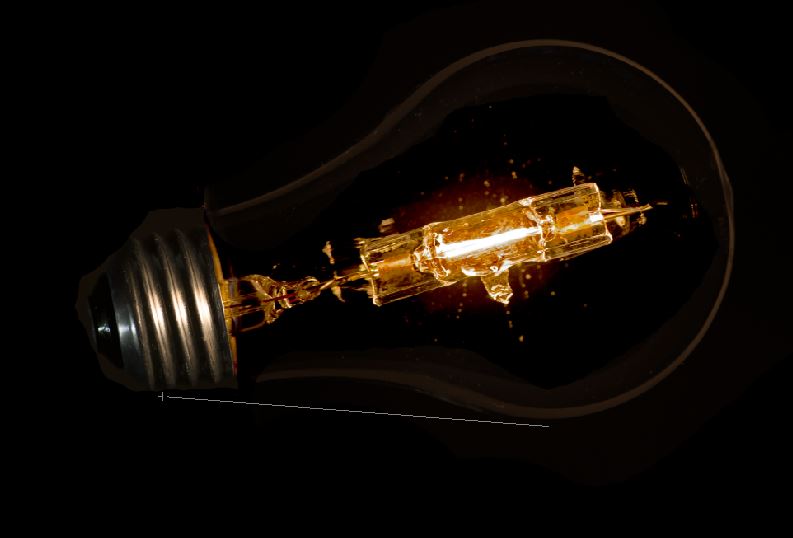
DUPLICATE the layer.
FLIP the layer vertically.
Change the mode to SCREEN to line up your reflection with the original bulb.
Apply a GAUSSIAN BLUR to the reflection layer.
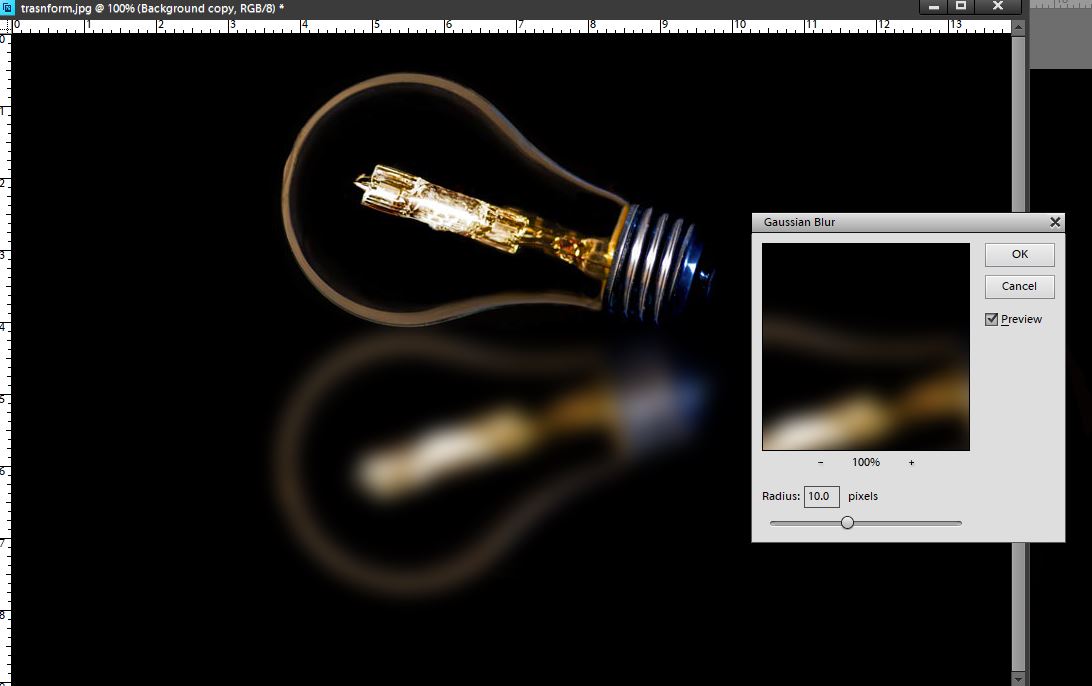
Use a soft black brush to remove some of the reflection. Lower the opacity.
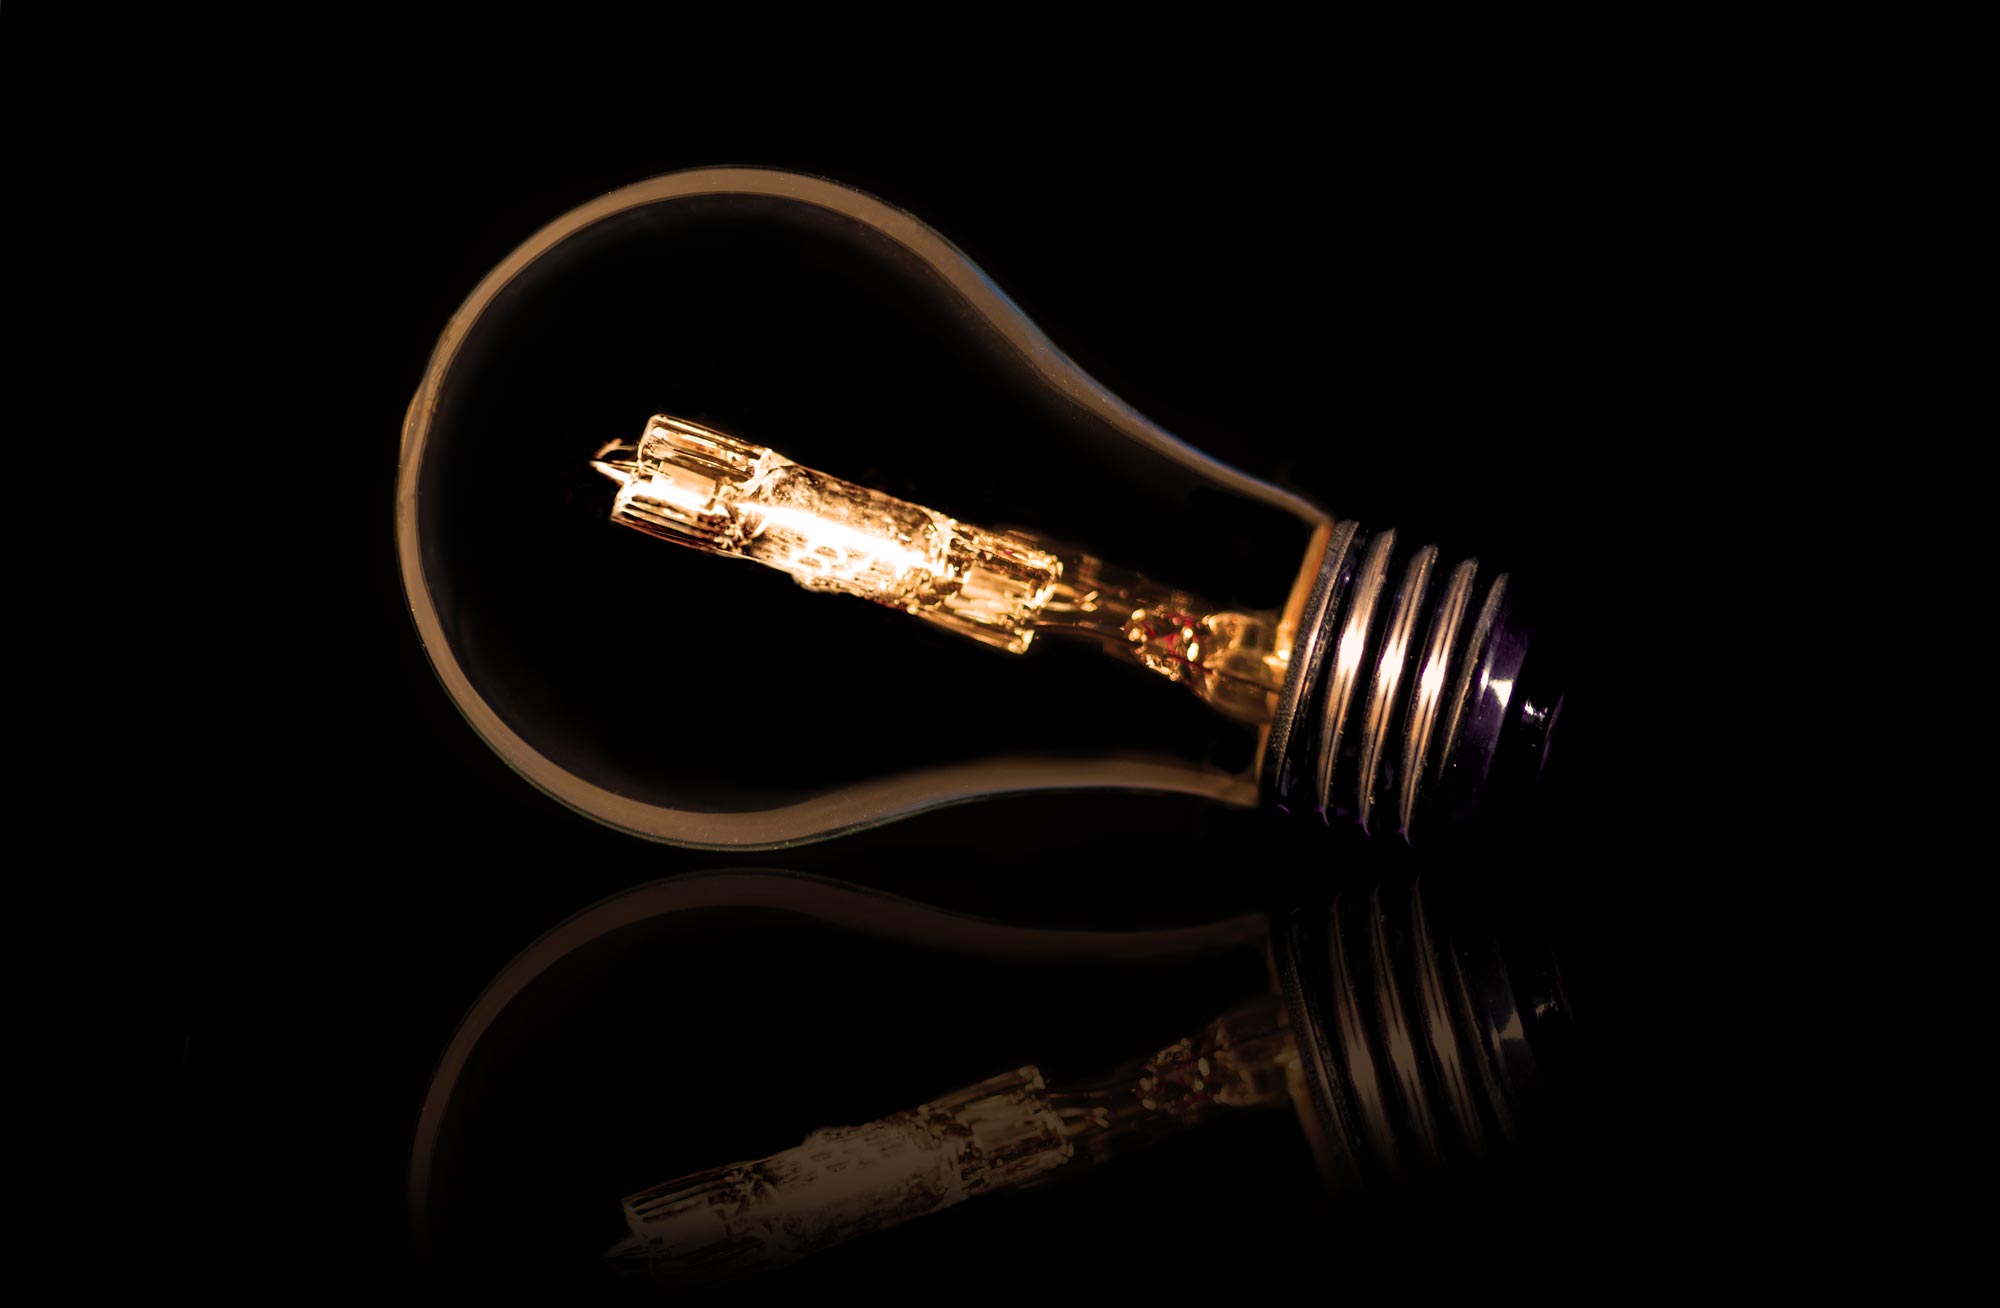
I FLATTENED the layers and created a DUPLICATE layer of my final image so I could reposition the light bulb and the reflection toward the bottom of the frame. I had to clean up the original after moving but since the background is black it was very simple, just used the black paint brush to paint over and the one last FLATTEN layer and I am done.
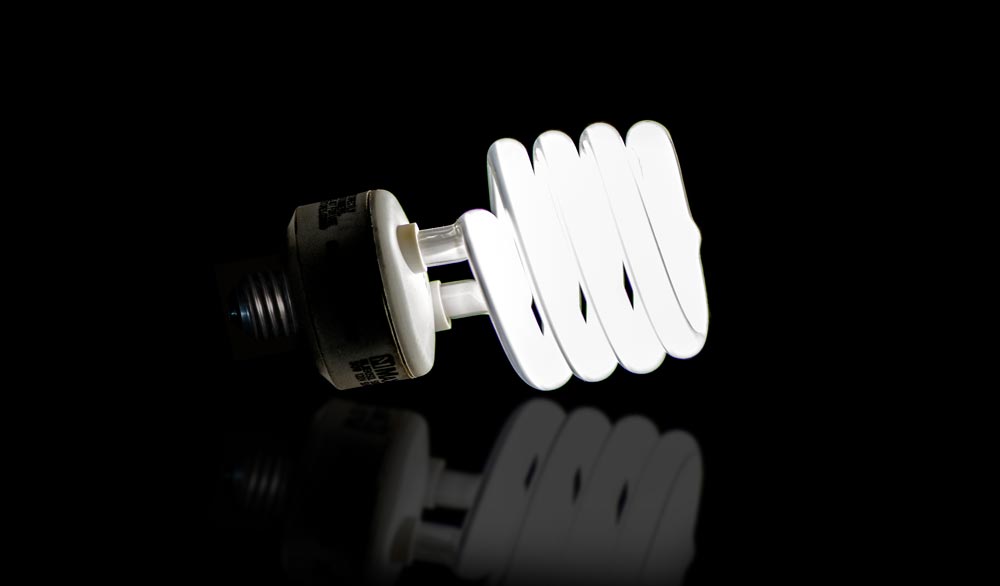
Photographing a light bulb examples:

Tips:
- Use layer masks to bring back detail as needed
- Adjust opacity as needed
- Experiment with PHOTO FILTERS
- Leave enough space at the bottom of the light bulb to paste the base into position
- Ensure the base of the bulb has a black background so it blends well with the original photo of the light bulb
- Select both images that were rotated and use the MOVE TOOL to reposition them in the frame