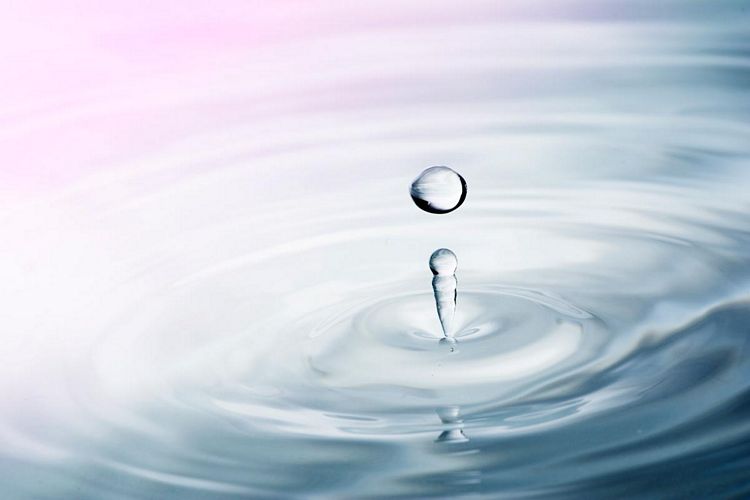
You’ve heard the saying, “There’s more than one way to skin a cat.” And that holds true when doing water drop photography. I’ve seen and tested many different setups but I never was really able to capture the picture I wanted of a drop of water falling into still water creating a cool splash and ripple effect. I’ve seen some people create really good pictures simply using their sink faucet while there are those that have created or purchased impressive devises that can make amazing water droplets in all sorts of ways. However, this is not one of those tutorials.
After some trial and error and what I believe to be success I thought I too would add my thoughts to the Internet on how to do water drop photograph.
How to do Water Drop Photography
The Basic Setup
I hastily erased distracting background elements to better show the setup. Also, in the setup above I used the same pole to hold the reflector as the water for the drops. When moving the reflector it would cause the pole to move which in turn would move the drops. Prop them separately for more stability and less movement.
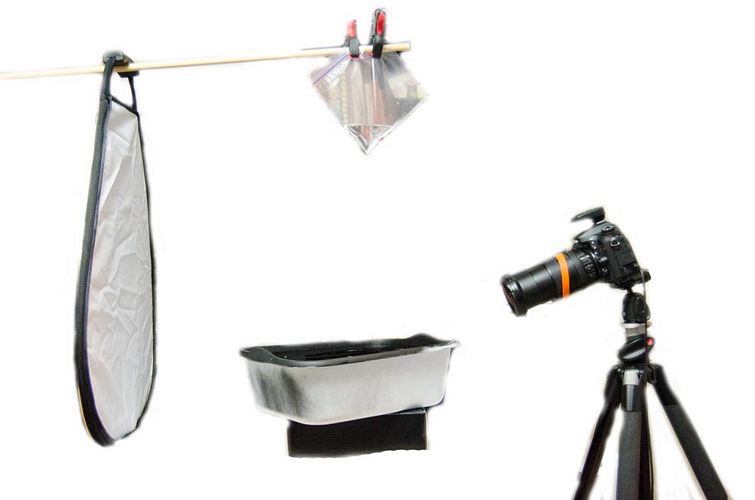
As you can see I do not have an extravagant setup nor am I using any special equipment or drip kit. I’m just looking for simple water drops splashing into a pool of water. This is an easy setup when you need to commandeer a small room in the house and not get into too much trouble. You’ll require the basic photographic equipment and a couple household items.
- Camera mounted on a sturdy tripod
- A bucket of water almost filled to the top – in the picture I show a black lined bucket but I ended up using a white one which I purchased it at a local $1 store
- Something to bounce light off of such as 24 Portable Triangle Reflector that I got from Amazon
- Off camera flash
- Wireless Remote Trigger and Receiver
- Something to hold water for the water drops. I used a sandwich bag and placed a small pinhole in one corner and then hung the bag 18” – 24” above the bucket using a couple clamps from my garage
- Gavin Hoey would recommend having a towel handy when working with water drop photography which may not be a bad idea
I set up my Nikon D7100 about a foot and half away from the bucket above and slightly tilted down. I also used my Tokina 100mm les with the lens hood attached to keep the glass from getting wet.
I used a small needle to make a hole in the corner of the bag allowing for a slow drip. As the water drops became more consistent they would hit in the same spot. Once I was able to determine the location where the water drops were going to hit I held a writing pen, putting the tip in the spot where the drops were hitting and focused on that spot. I then switched to manual focus so I wouldn’t lose my setting and started clicking away.
Get the focus right! Catching great pictures of water drops is a numbers game and it literally took a thousand shots to get a handful of good ones.
Camera Settings:
ISO – 200
F/14
Shutter speed 1/250
Continuous shooting
I set my off camera flash to manual and set it to 1/32 power. I changed this from time to time up and down for different effects. For the most part this worked well for what I was trying to accomplish. I left the lights on in the room where I was working but I’ve read some tutorials that suggest turning off the lights to help freeze the action.
In one hand I held the off camera flash and the other a remote camera trigger and took pictures in bursts of 5. Mostly because the memory card I was using was slow. Nevertheless, I was able to fill up several cards in a very short period of time. I would experiment by moving the flash around; holding it close to the background, far away, aiming into the water, etc. If exposure needed to be adjusted I would start with the flash, adjusting it up or down, so not to mess with the camera and lose focus.
Also, remember what you see in the display on the back of your camera may not be what you see on the computer. Check some of your pictures on the computer to make sure you are achieving the sharpness you are looking for. Water drop photography can be tricky so don’t make the mistake of thinking you have nice sharp images before putting away your gear and tearing down your setup.
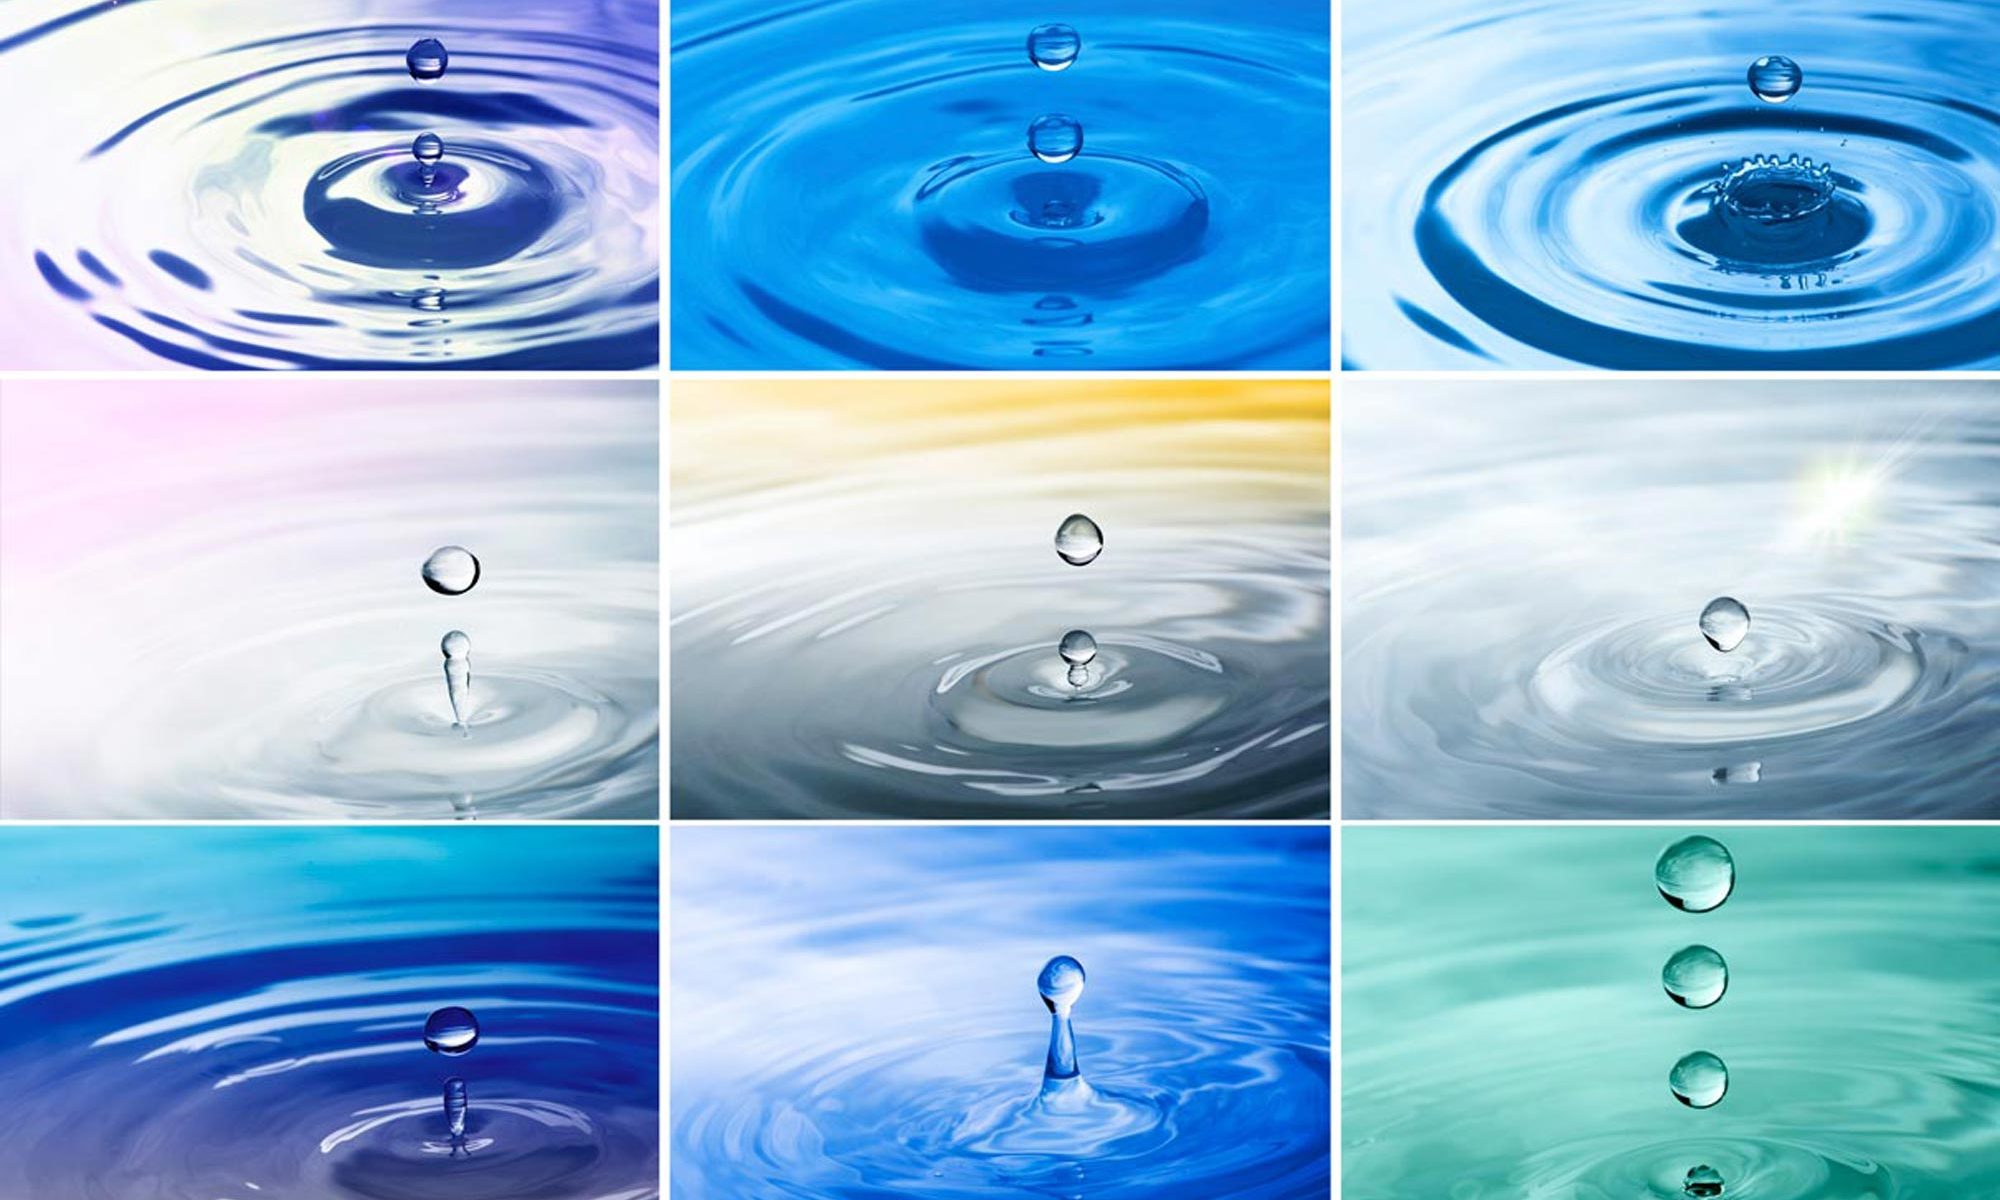
Once you are done, take the photos of your water drop photography shots and import them into Photoshop Elements or whichever favorite editing program you are using and have a little bit of fun with them. Add gradients of different colors, add a lens flare, or copy a water drop and repeat the pattern.