Even though I don’t utilize contact sheets in my photography, I’ve always thought they were pretty cool when I would come across them while reading photography books. It wasn’t until I looked into printing them that I discovered how easy it was to put together a contact sheet filled with photographs and print in Photoshop Elements 11.
To print a contact sheet in Photoshop Elements, do the following:
- Open Photoshop Elements Organizer.
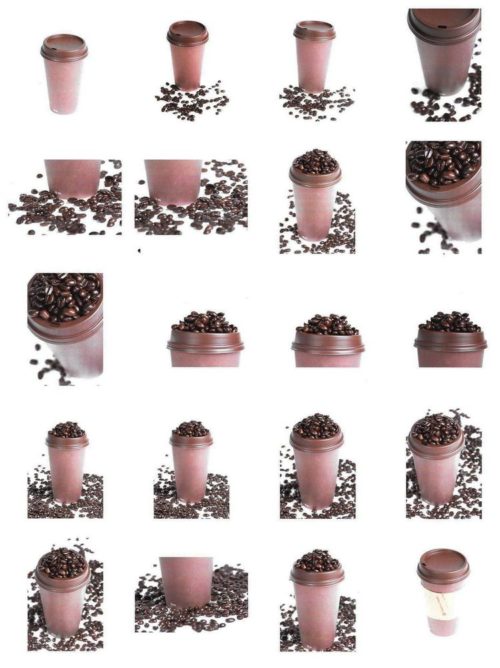
- Once in the Organizer, select the photos you want to print on the contact sheet. Depending on the number of columns you wish to print per page will dictate how many photos will print on each page and their size. I found that I like 4 columns per page which gives me 20 pictures per page.
- When you’re ready to print your contact sheet; choose File–>Print

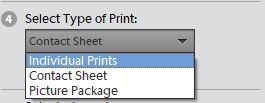
- In the dialog box, select your printer, adjust printer settings if needed, select your paper size, and in section #4 select ‘Contact Sheet’ from the dropdown menu.
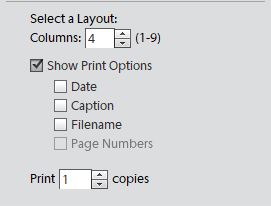
- Select the layout you want and how many columns to print. By checking the ‘Show Print Options’ you can add additional criteria, such as Date or Filename.
- When you are ready to print the contact sheet hit Print.
